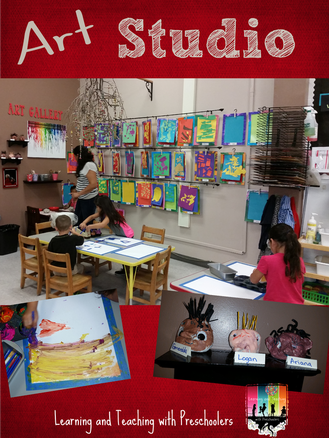
One of this years big classroom make overs was in our art center. Last year we only had one table in the area and it was challenging for the children to create with multiple art mediums at the same time. The Solution We created three different zones in our art studio to allow children the opportunity to work with several art mediums all at the same time. Here is what we did. 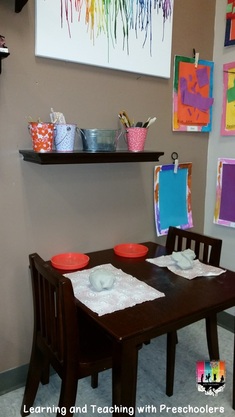
We placed a small rectangle table on the far wall of the studio and hung a shelf above. This area is now the clay table. Here two children can work together sculpting creations out of clay. Clay working tools are located right above on the shelf. 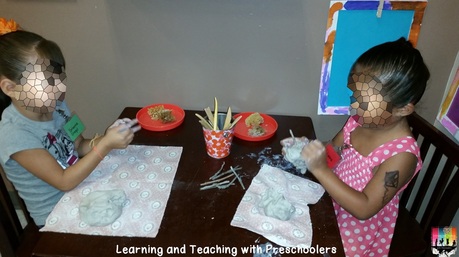
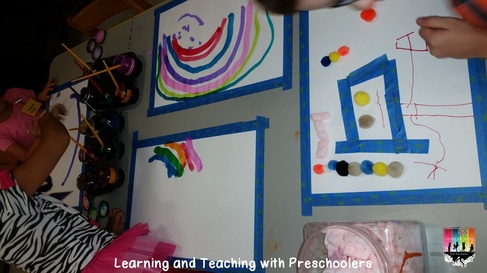
We placed a large rectangle table in the middle of the studio so that children could create with a wide range of art mediums at the same time and still have room to create. Here children can create collages and 3-D art. 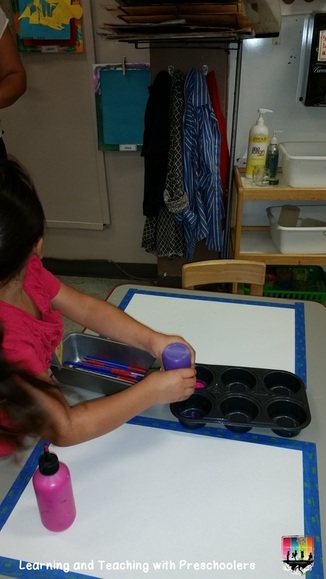
We placed another small rectangle table next to sink and dry rack that is used for painting projects. Children are encouraged to prepare their own paint trays for painting. Once they have finished their painting project they wash up the paint tray and paint brushes. 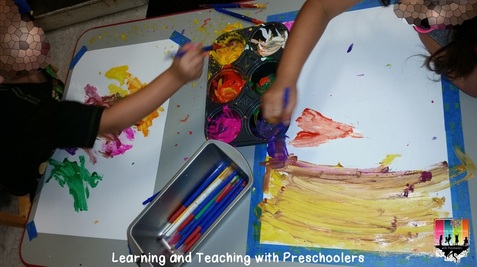
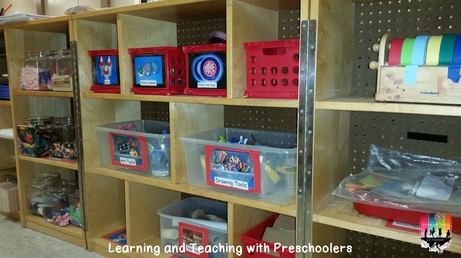

Across from the table is two sections of storage shelves that houses a large variety of art supplies. All supplies are accessible at all times for the children to create with. 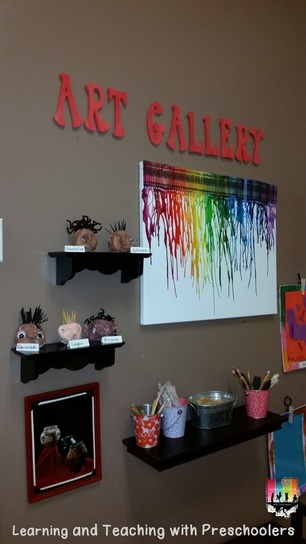

3 Comments
Donna
10/2/2014 05:38:28 am
I just adore your art center! In the first photo, it seems as if you used some kind of rods to hand the art work. Can you explain what you did? Thank you so much.
Tami
10/2/2014 10:04:06 am
We pre-cut white foam board from the dollar tree into frames and the children painted their own personal art frame. This frame will be used for their art for the whole school year. Next we hot glued laminated paper behind each frame and hot glued a cloths pin to the top of each frame to hand the child's art work from.
Donna
10/4/2014 01:53:16 am
Thank you so much for the info! I will be doing this in my classroom very soon. Love the idea! Leave a Reply. |


Welcome!I'm Tami Sanders creator of Learning and Teaching with Preschoolers, a blog to help teachers create magical moments for the young. Follow Me

Circle Time Activities
Become a Member
Archives
May 2024
|