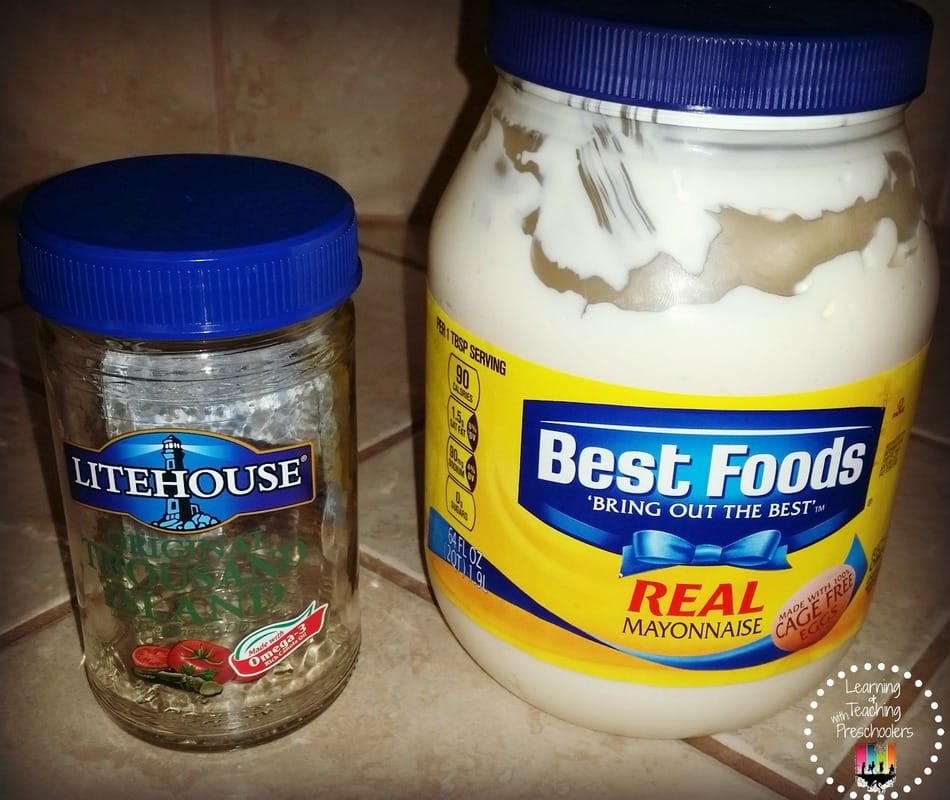
Jars are an inexpensive way to store items and we all have them lying around. Ok maybe not lying around but we do have them in the recycle bin. Today I’m going to show you how to turn that trash into something beautiful to store items in. Step One: How to remove labels from jars with ease. My secret weapon for remove jars is… Mayonnaise
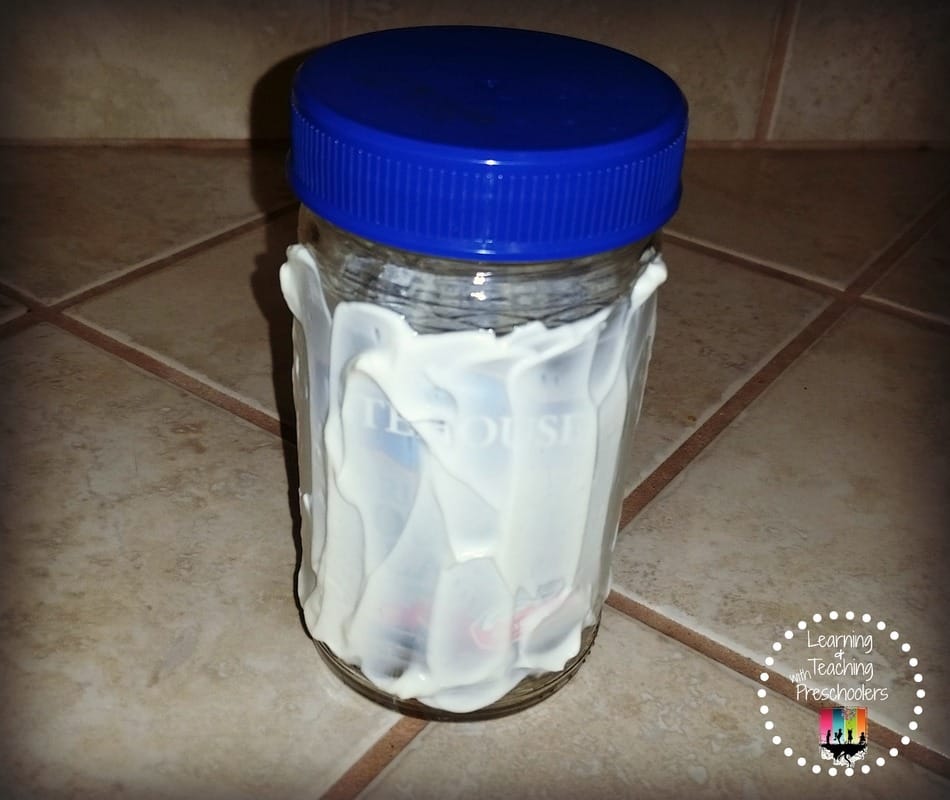
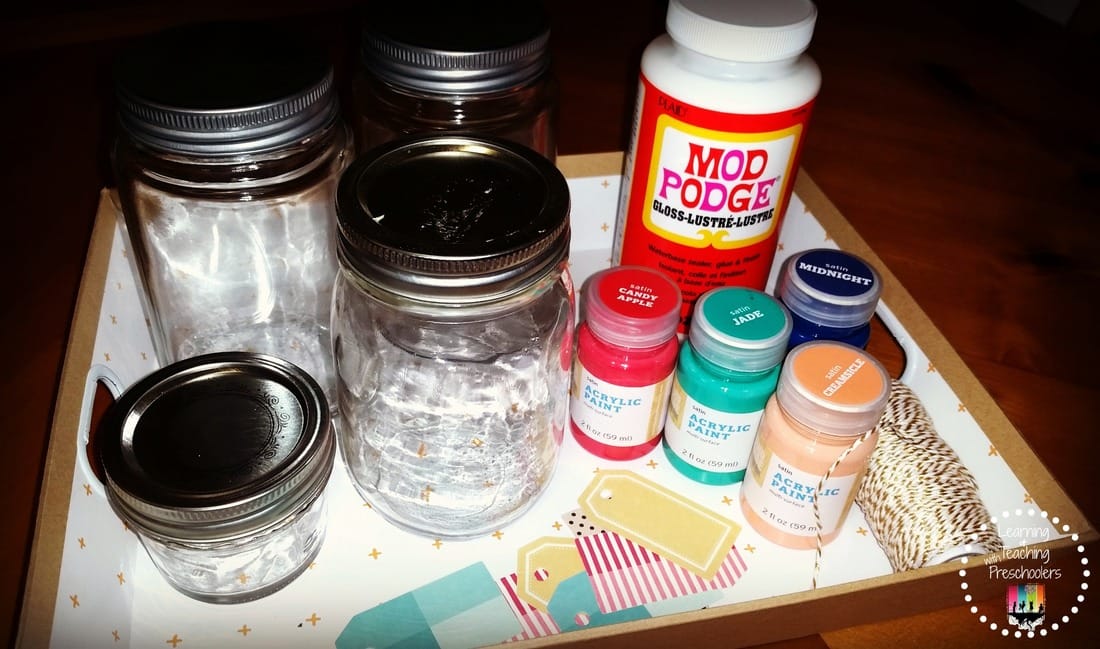
Spread it on the jar and let sit overnight. Once mayonnaise has sat on jar just rub label off with a paper towel and wash with soap and water. Now that you have all your labels removed, it’s time to make them beautiful. Materials that you will need:
 Step Two: Color Tint Jars Pour mod podge into the bottom of each jar with color stain of choice. Mix together well. You don’t want it to be marble like in appearance or your jars will look streaked. 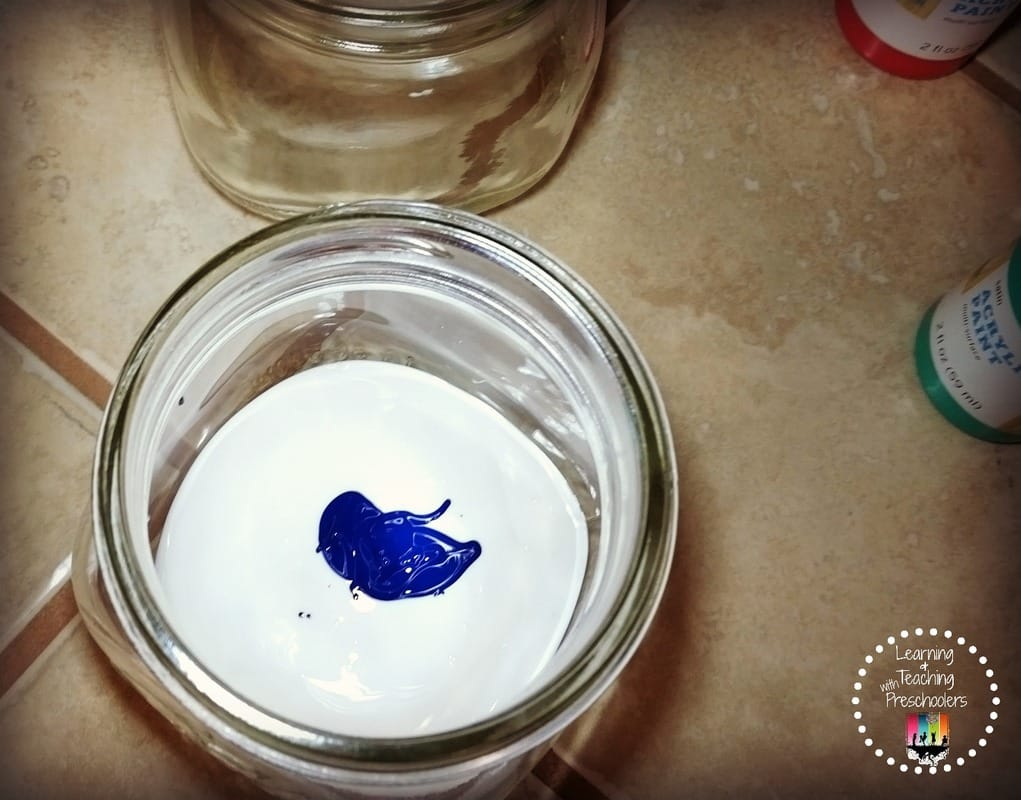  Tip jars sideways and slowly roll jar coating the sides of the jar. Slowly move the mixture until you have fully coated the inside of the jar to the rim. 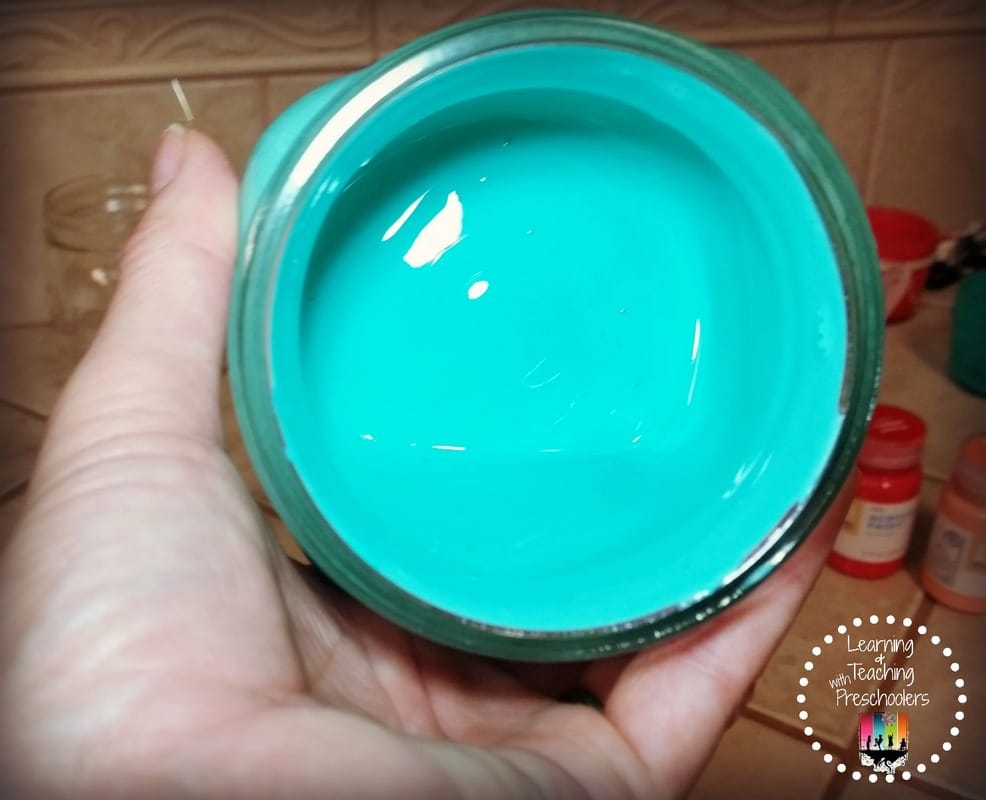 Drain any extra mixture into another jar if you are coloring more than one jar, or drain the extra into something that can be thrown away. Tip the jar upside down in a paper bowl and let it drain completely for about an hour or two. 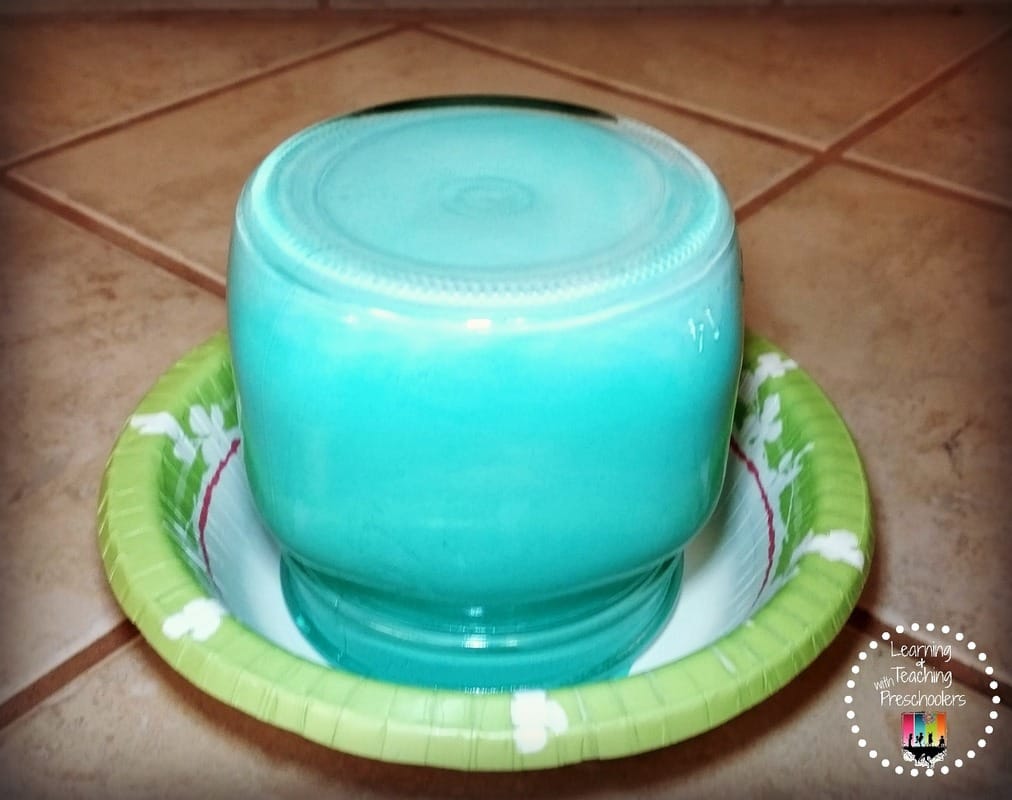 After you have let them drain tip them up right and air dry. This will take about 24 hour depending on the weather. 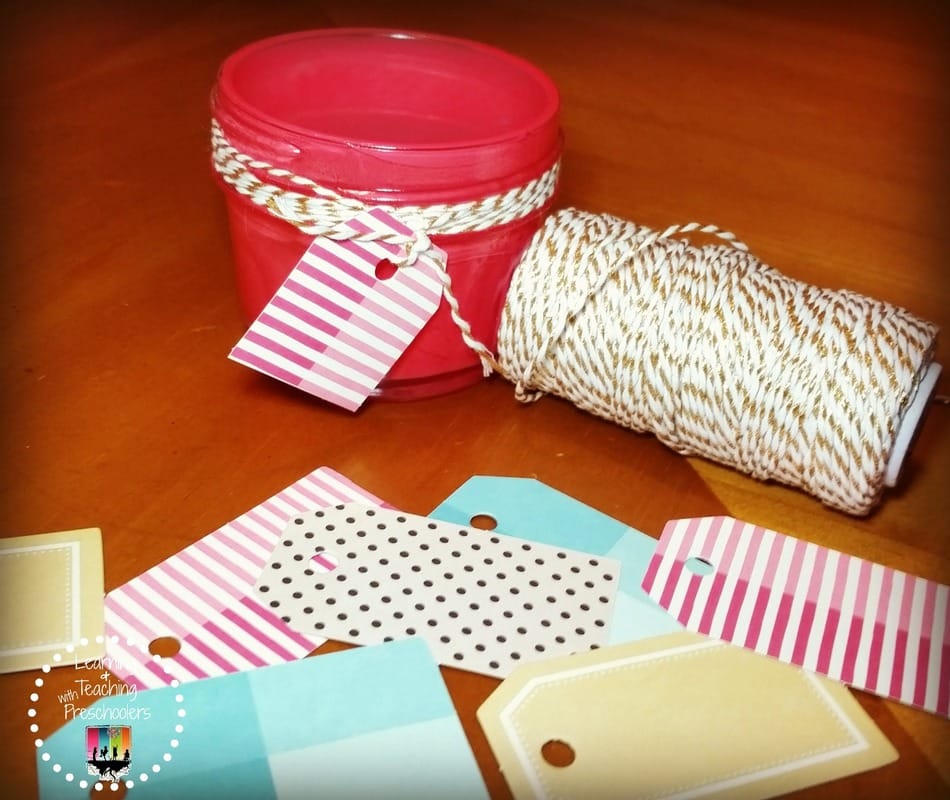 Now that the jars are dry, decorate the edge with some shimmery twine and colorful tags for labels. 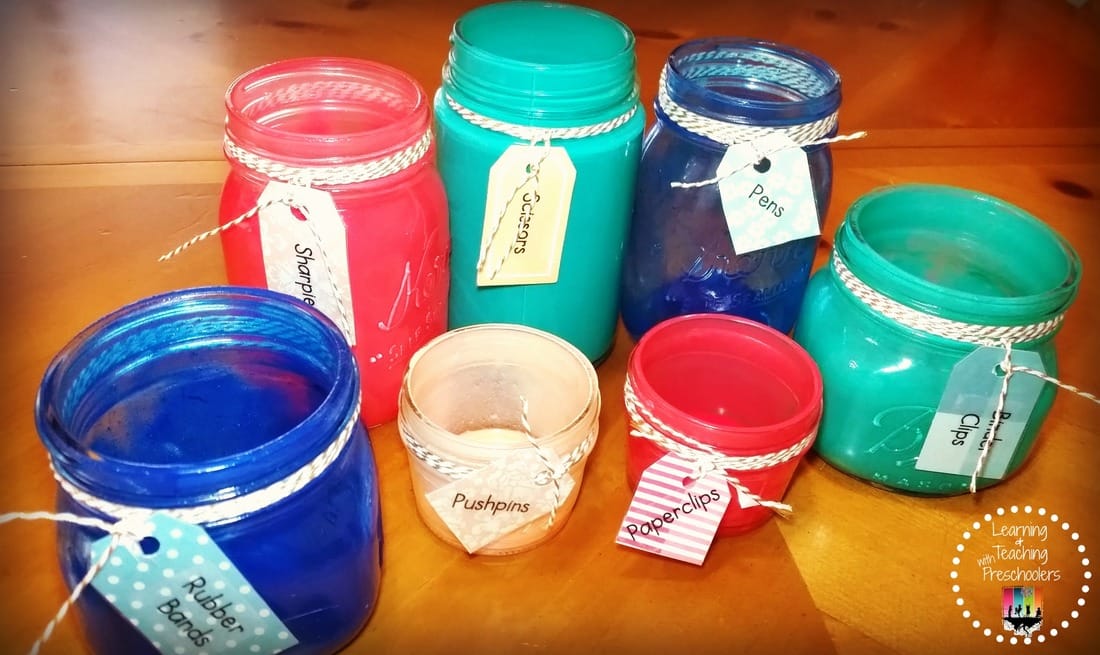 Stay tuned to see how I will be using these beauties to organize my teachers desk. Thursday January 12th, I will be teaming up with two other Pre-K teacher bloggers to bring you a classroom organization challenge that you won’t want to miss. We will be decluttering key areas of our classroom to help us save time and relive some of that unneeded stress that goes with running a classroom. 
0 Comments
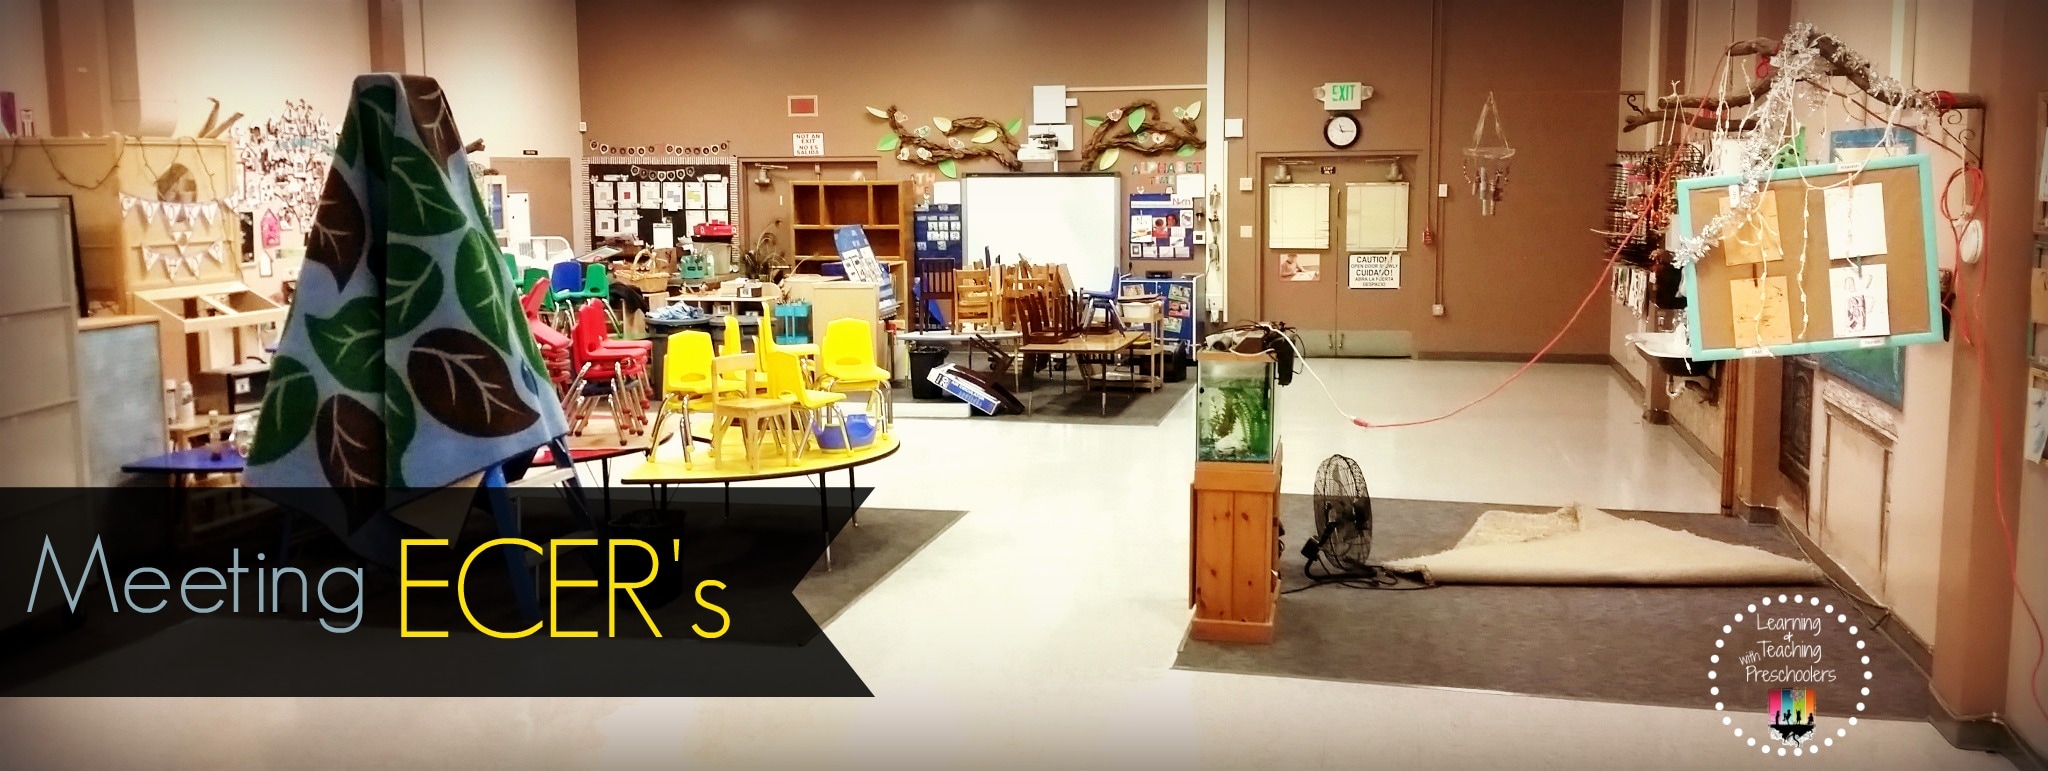 This year as a state funded program we are going through the QRIS (Quality Rating and Improvement System) and with the QRIS comes ECER’s the Environment rating tool. We have always completed an annual self-evaluation of the ECER’s tools, but with the QRIS they keep you accountable for it. You know that they will be randomly coming into the classroom to conduct their own ECER’s and they will find enough stuff on their own without giving them the ones that you already know about. So, now let’s talk turkey. Our self-evaluation of ECER’s where due in December before leaving for winter break. Here is what I discovered about my own ECER’s.
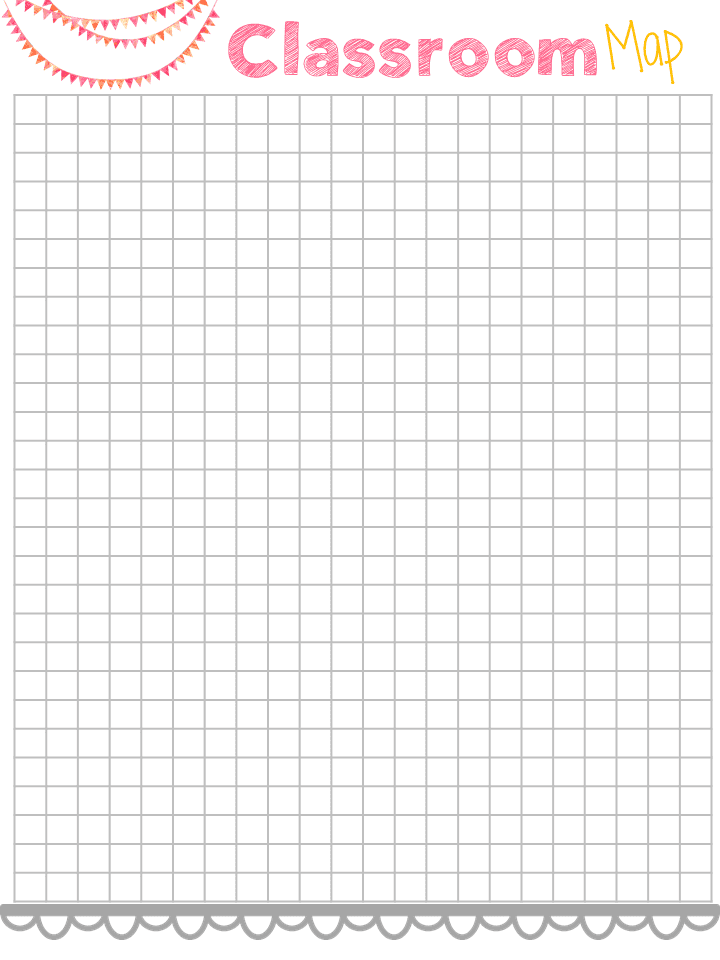
So, if you follow me on Instagram you saw that on December 21, we packed and moved furniture in our classrooms for the annual deep cleaning too. On January 3rd, we are due back in our classroom with kids as we put our classrooms back together. You’re asking yourself right now how are you going to do that? It means I must have a master plan. I need to have a master plan to move furniture, meet ECERS and have my classroom up and running in as sort of time as possible. I do all of this with a classroom design map. This map allows me to move and change things around and move it again until I come up with the perfect arrangement. This will also ensure that I have correct any of my problem areas that I discovered during my ECER’s review. By doing this in advance I will be able to put my room back together in a short amount of time and with little frustration to me, my staff and most of all the children. Here is what it looks like. 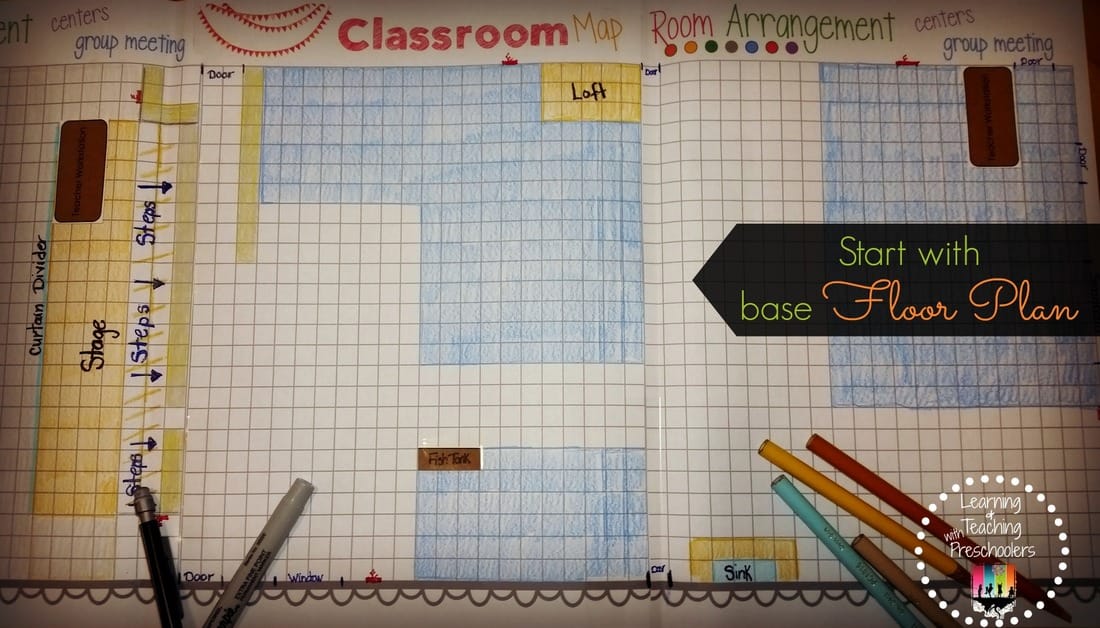 Step One: I start out with my base floor plan. I sketch out on my classroom design map all elements that will never change.
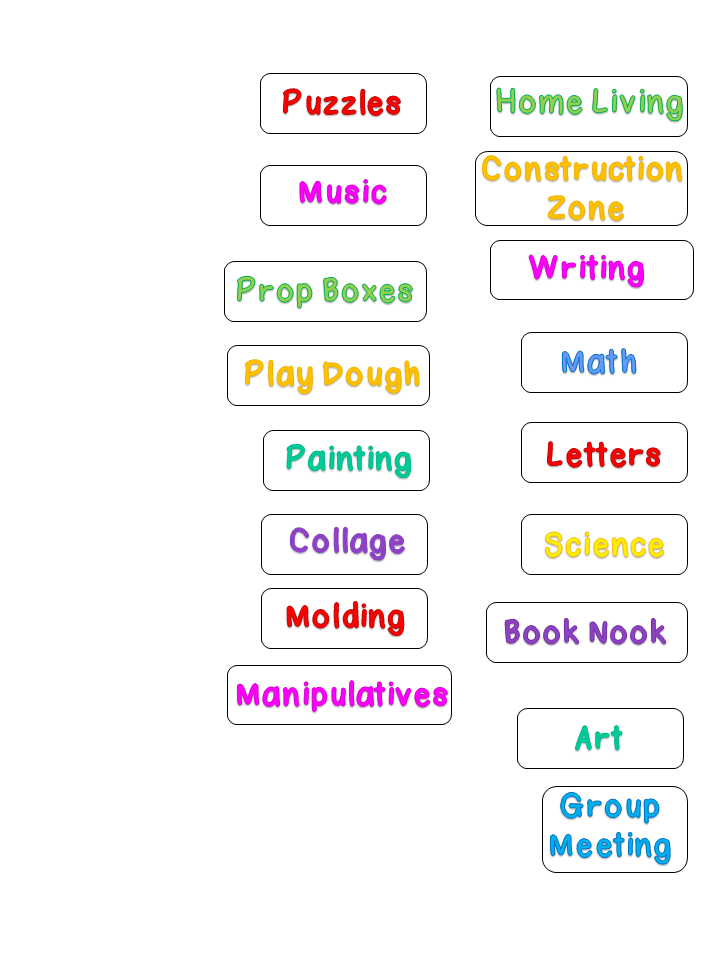
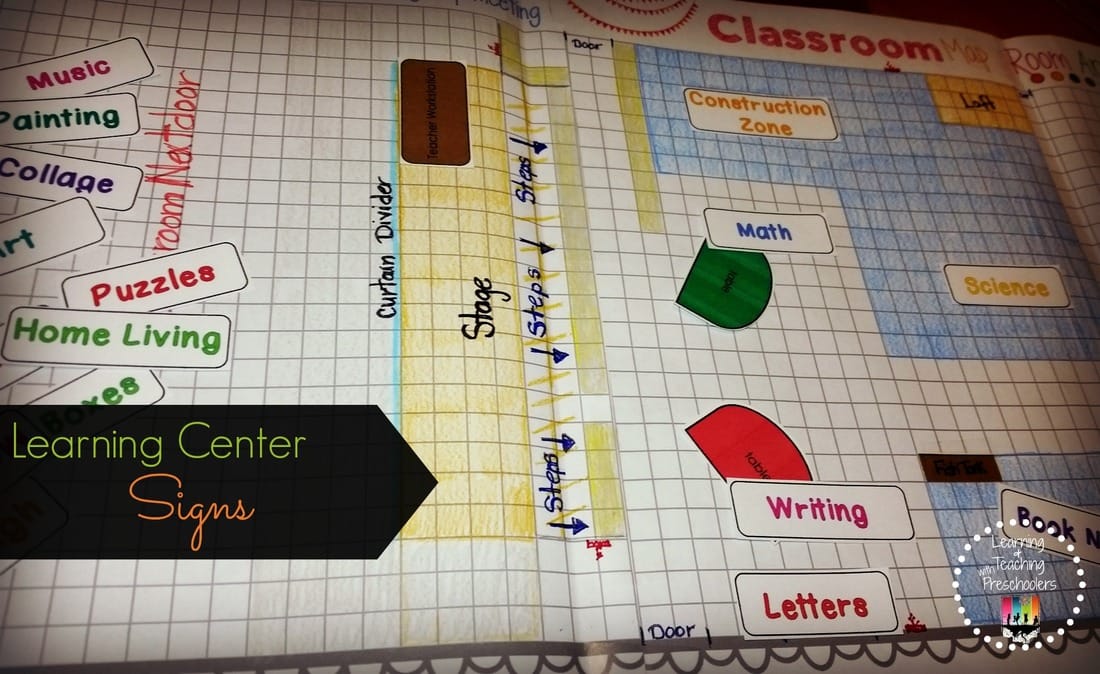 Step Two: I make and cut out area signs for all learning centers that I would like to have in my classroom environment. I do most of my moving around during this part of my planning. Thinking about what I found out about my areas conflicting with one another and making sure that I have the right combinations of centers next to each other. 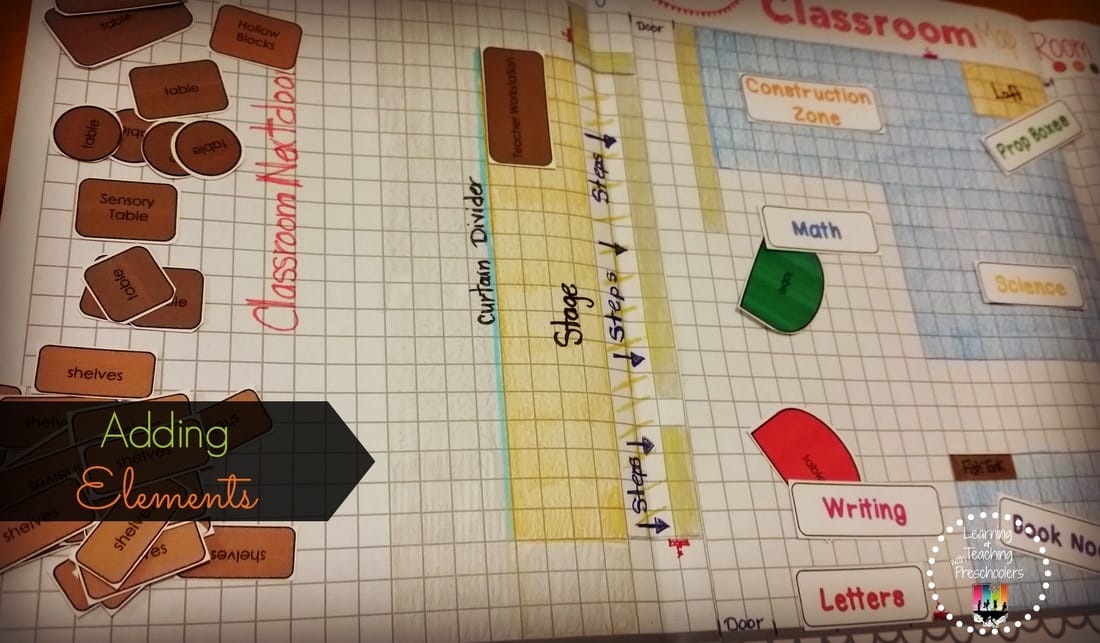 Step Three: I make and cut out pieces of all tables, shelves and area rugs. Now I can add all the furniture to each center. This will show me if areas are too tight with furniture. Not leaving enough room for children to play and interact with the materials. 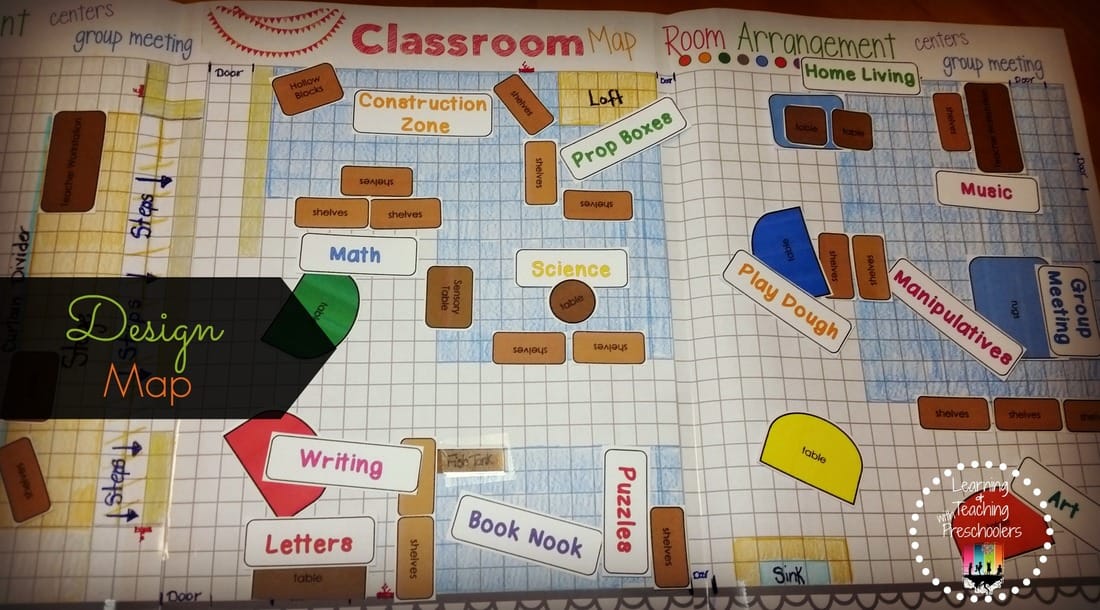 Step Four: Take a close look and ask myself these questions.
Finally: Now that I have everything mapped out I’m ready to take a picture of the map so that I can send it to my staff. This will give them the opportunity to provide feedback before we even step foot into the classroom. Now we are ready for the big move on January 3rd. Looking to redesign your classroom this year? Grab your free classroom design map.
If you are looking for a way to keep up with your classroom design and ECERS. Then look no further, this classroom design workbook will help you keep up with all your ideas and needed materials to meet ECER’s and any other environment rating tool.
|


Welcome!I'm Tami Sanders creator of Learning and Teaching with Preschoolers, a blog to help teachers create magical moments for the young. Follow Me

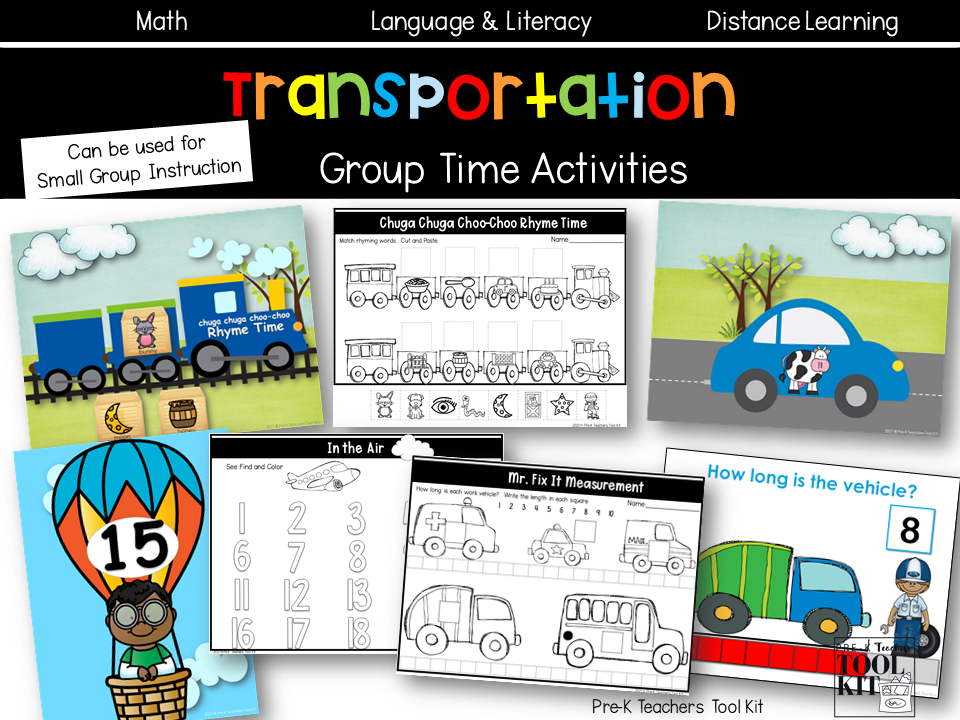
Circle Time Activities
Become a Member
Archives
May 2024
|
|||||||||||||||||