|
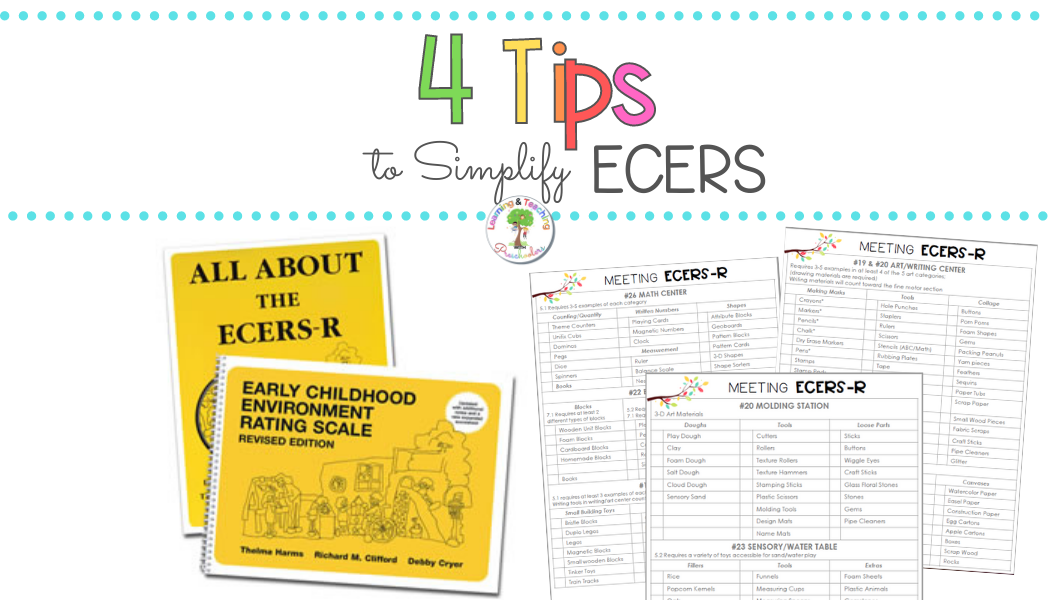
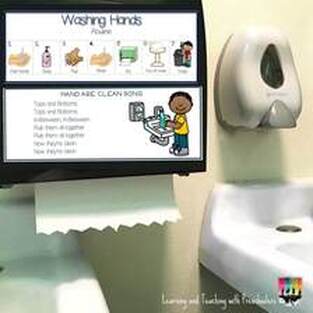
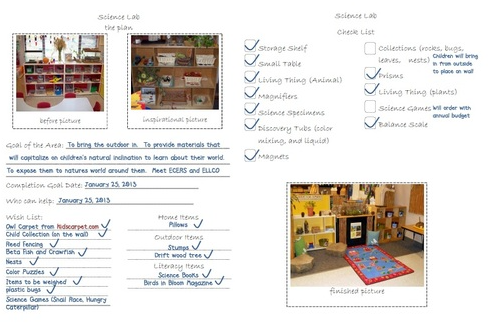
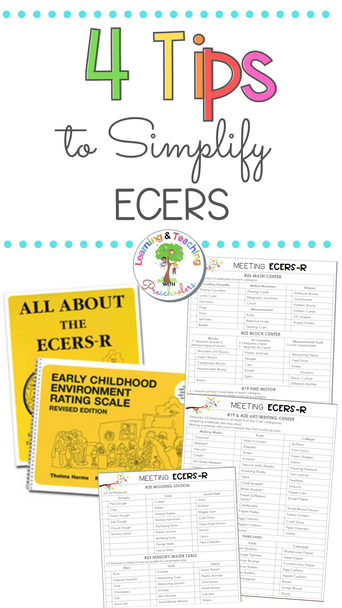
Do you need to use the Early Childhood Environment Rating Scale (ECERS) to rate your classroom? This assessment is to help you improve the quality of your classroom, but sometimes it can feel a little donating. Here are 4 simple tips to help you through the ECERS process. ECERS Tip #1 Hand Washing Keeping children's hands clean is the best method to avoid the spread of germs in your classroom and the most important way to keep everyone healthy. So... I understand why it's a key part of the ECERS rating process. BUT... It's also one of the most stressful part to meet if you don't want to spend your whole time with kids in front of the sink washing their hands. Parts of your day that children need to wash hands Upon arrival Before meals After meals Before/After using the water table Before/After using play dough When coming in from outside play So if you eat your meals in your classroom you might feel like all you do is wash children's hands all day long. One way to avoid the whole hand washing dilemma is to teach children how to use non alcohol hand sanitizer. We like to use it after meals and in the classroom for cleaning their hands before and after using the water table and play dough. Once we started this habit with the children our ECERS rating has improved. ECERS Tip #2 Substantial Portion of the Day Many of the ECERS items requires access to learning materials for a substantial portion of the day. What that means is a 1/3 of your program day, children need to be actively engaged and allowed to use learning centers for long portions of the day uninterrupted. 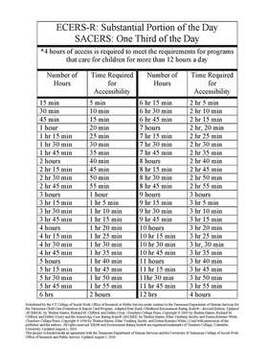 Here is a great visual to see if you are meeting ECERS meaning of substantial portion of the day. Remember you can add different parts of your day together to get the whole time allowance. Example of this would be morning work time and center choice time. Say you allow children to work (free choice) for 30 minutes before breakfast and again you have your learning center work time for 45 minutes. When you add that together you get 1 hour and 15 minutes to count toward substantial portion. If your program runs for 3 1/2 hours you need 1 hour and 10 minutes. ECERS Tip #3 Center Checklist 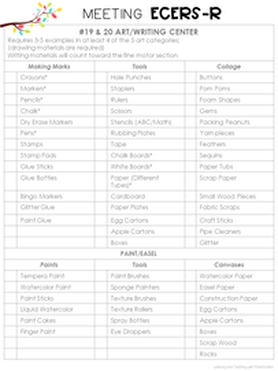 Does it take you forever to go through your centers to insure that you have all of the needed materials in your learning centers? Then this tip is for you. Using a checklist to help you complete and enhance your learning centers to meet ECERS is a must. All you need to do is go through each center check off what you have and then go to your storage area to find the needed materials to meet each area and boom you completed your ECERS in no time. Make sure to grab the FREE Checklist below. Grab it for FREE when you sign up for the Monthly FREEBIE Newsletter and get instant access to the FREEBIE Vault. ECERS Tip #4 Rotating Materials You have your areas all ready, but you want to rotate toys to meet the theme of study, what do you do? Simple, when you go to rotate toys make sure when you take something off of your shelves make sure that you replace that item with the same type of item. Example: You remove your set of bristle blocks from your Manipulative section make sure you replace that with another small building manipulative. That way you always know that you can meet ECERS no matter when someone walks into your classroom to rate you.
I hope these tips and tricks helped you to meet your ECERS. What do you do to help you meet ECERS each year? Leave a comment and let us know.
3 Comments
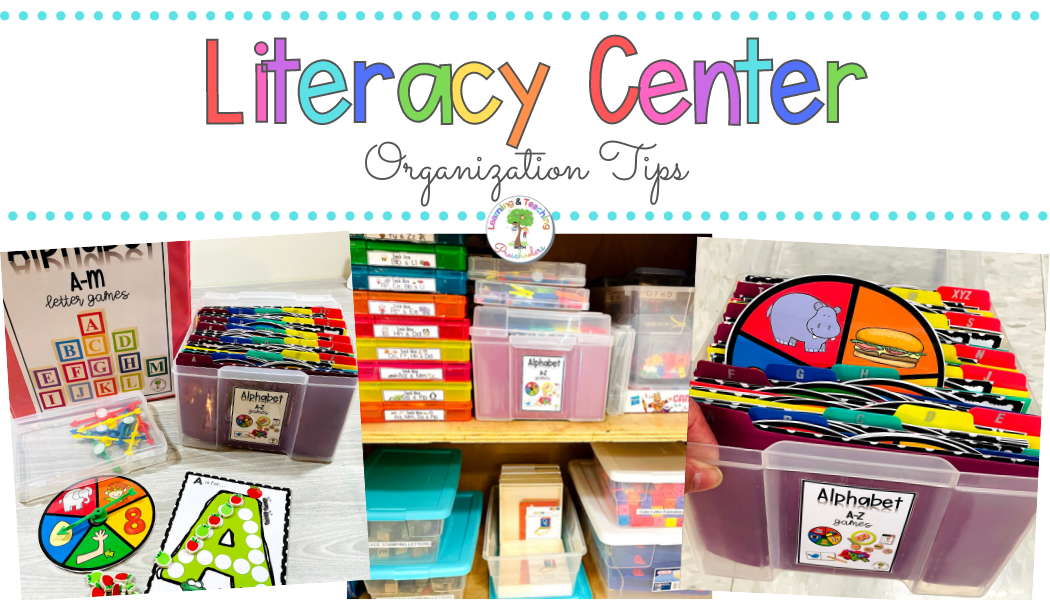
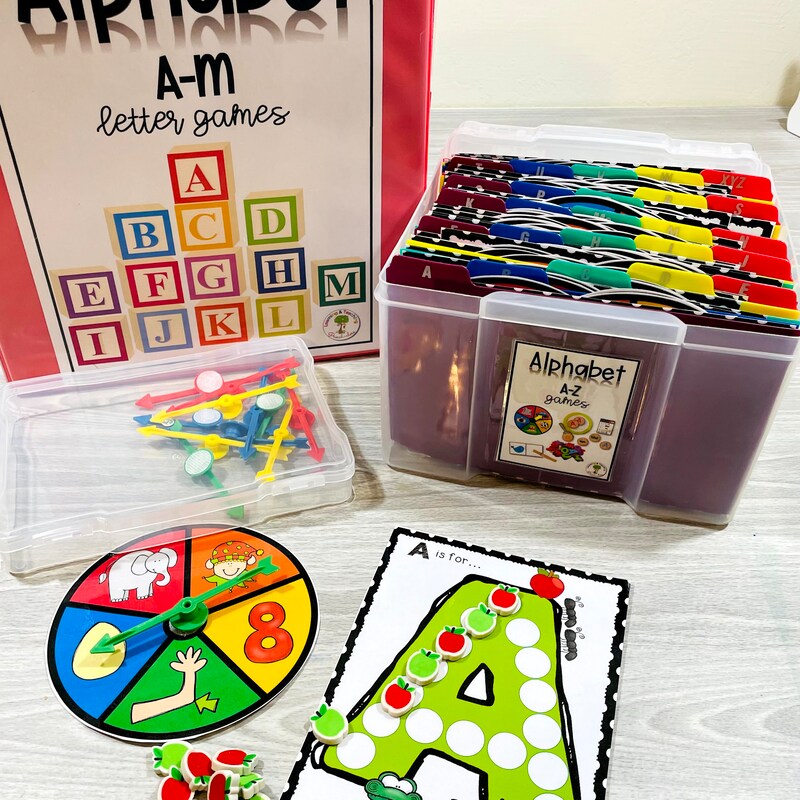
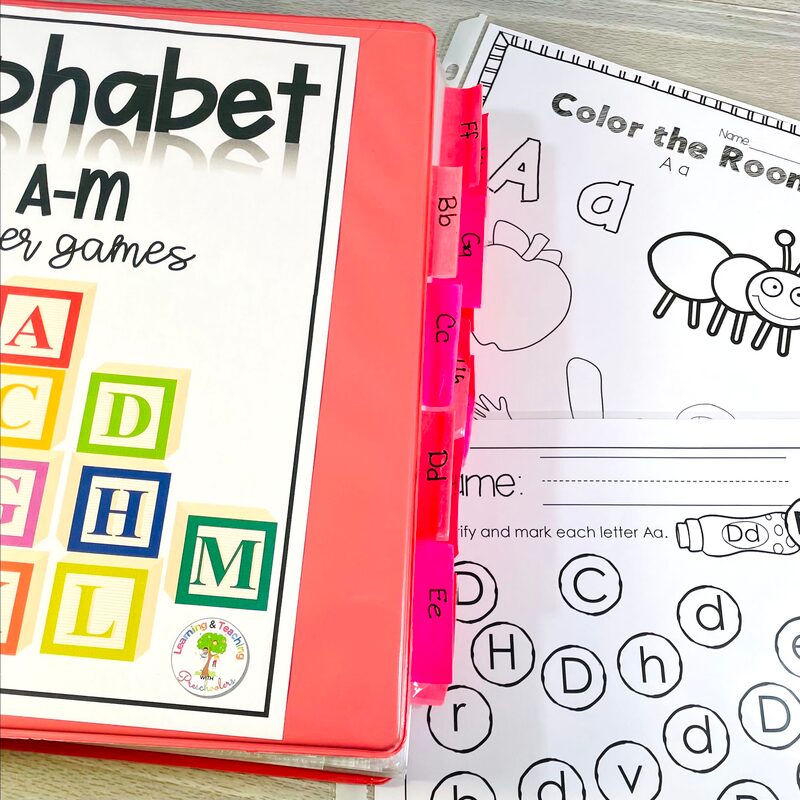
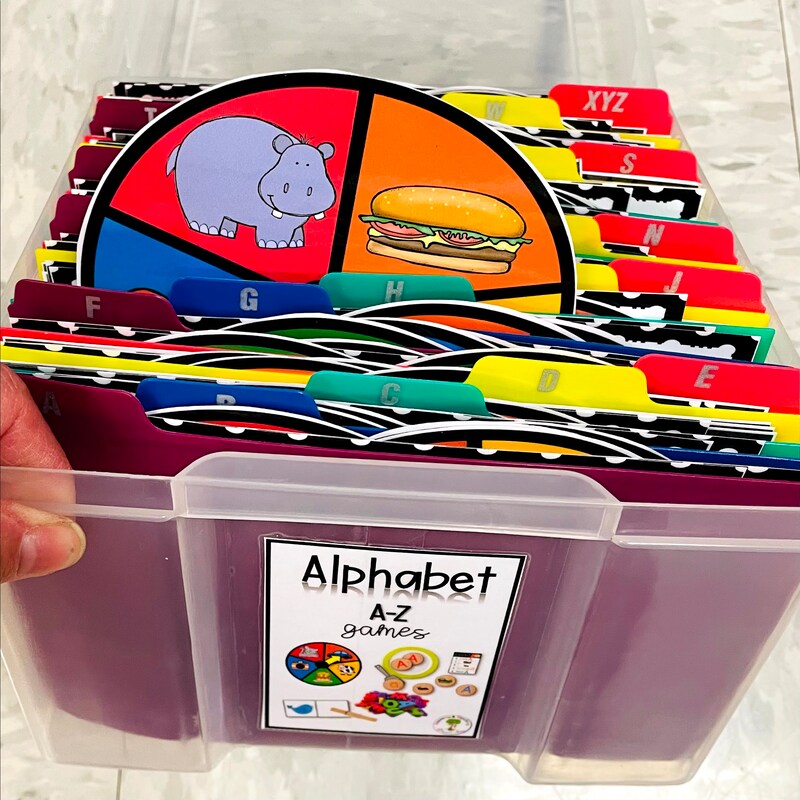
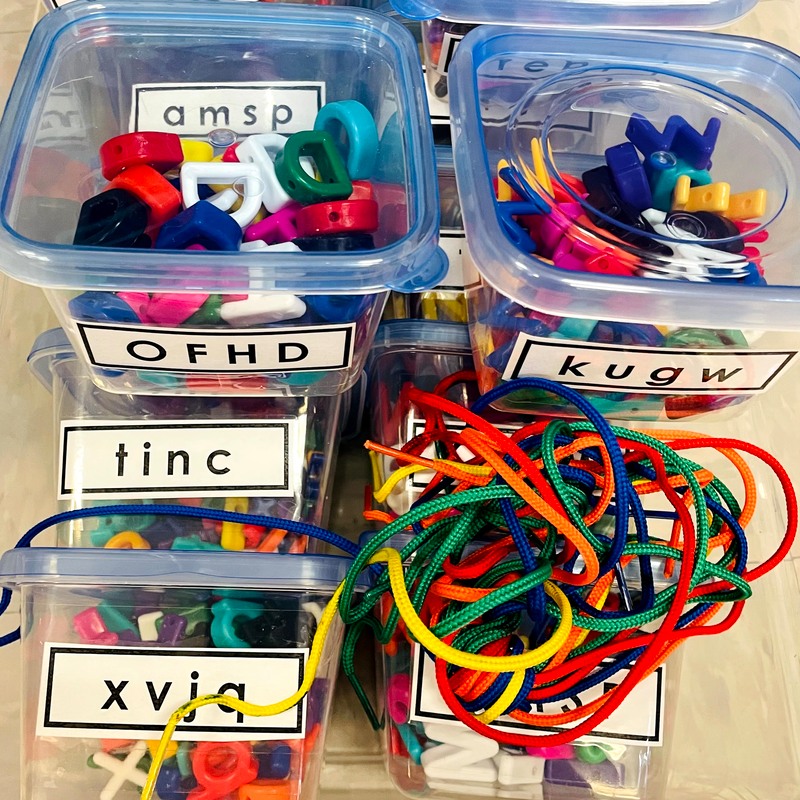
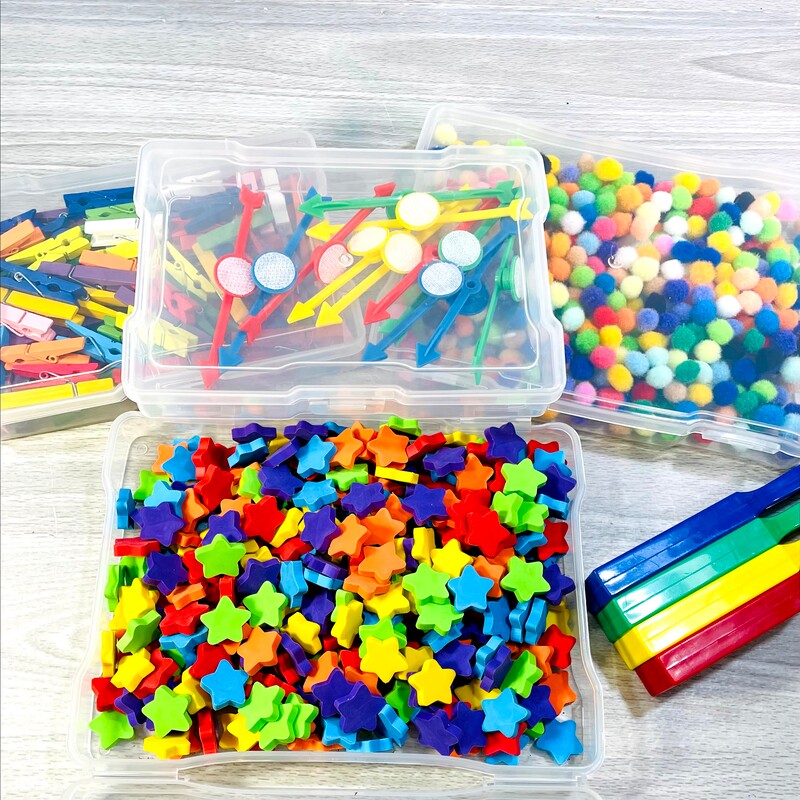
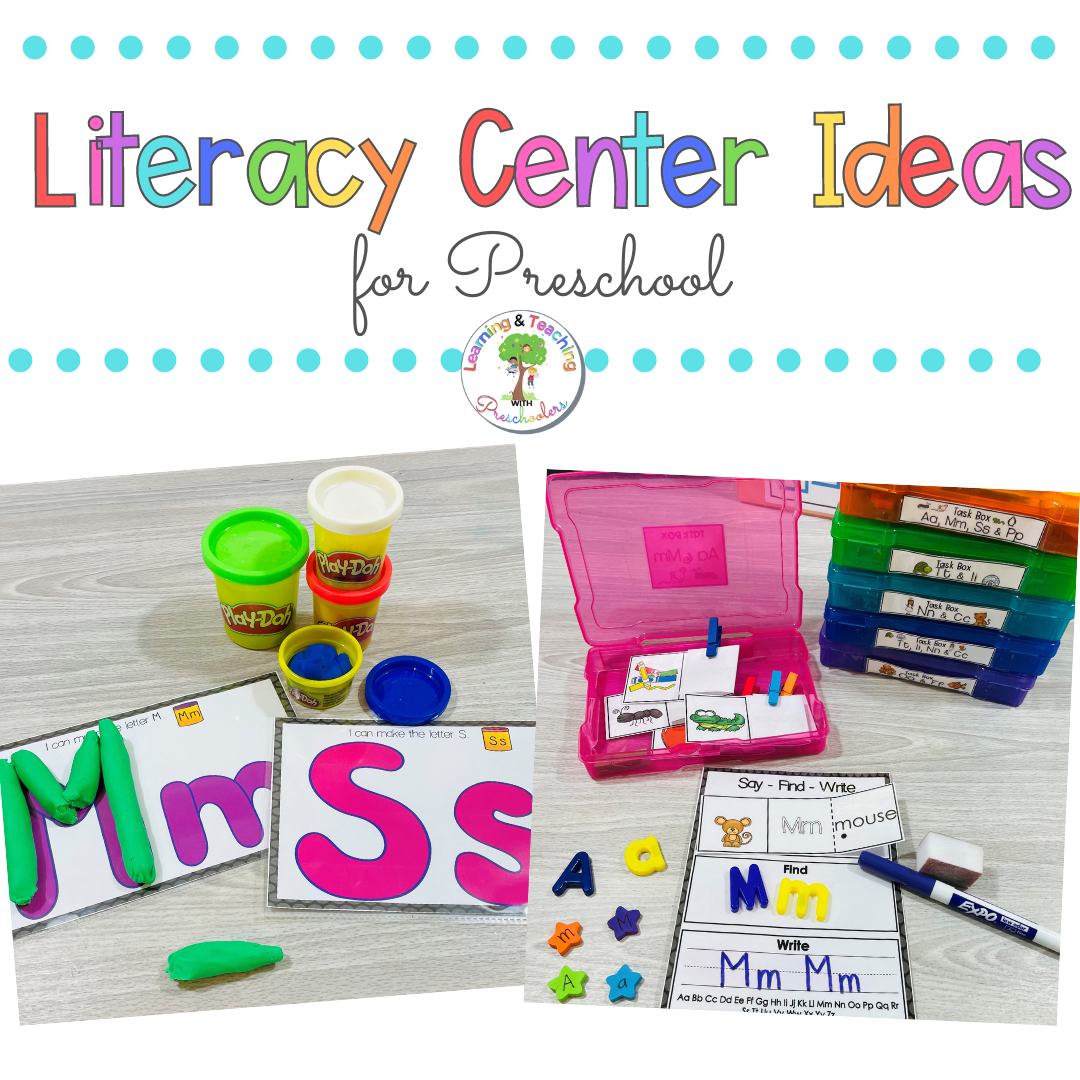
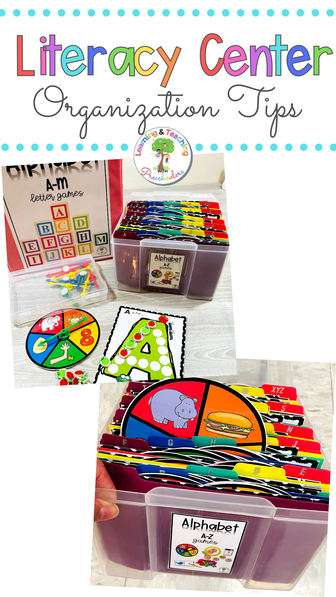
Have you ever found and prepped the perfect literacy center for preschool children and then didn’t know what to do with it once they have used it? I can’t tell you how many times I have prepped and re-prepped the same activity over and over again, because I could never find the perfect solution to my storage situation. Well not any more! I have finally found the perfect way to store all of my different types of literacy center materials and the best part about it is that I can set it up in a snap for the children to use. So in today’s post, I will be sharing ideas on how to organize your own literacy center materials so you can have activities ready in a snap. How do you organize learning centers? Literacy centers are in my learning center rotation daily so that means that I’m having to access them often like everyday. Over the years I have found that having my literacy center materials organized can save me valuable time and MONEY I mean who doesn't love saving their hard earned money. I have several different ways that I organize my literacy center materials. There are two different types of materials that I organize and each one gets organized a little bit differently. The first one that I want to talk about is all of the printable materials that I use. These are the ones that I can just make copies of and then set out items for the children to interact with like dot markers, stickers, hole punches and even hammers with golf tees. For this type of literacy center I like to keep all of the originals in a sleeve protector and in a binder in alphabetical order. Now for the second type of literacy materials you know the ones that you have taken hours of your time laminating and then cutting them out. These are the ones that I really don’t want to have to create all over again. Who wants to waste that kind of time every year? Not ME! So for laminated games and cards I like to keep in a plastic photo organizing boxes with ABC letter tabs. This way I can grab the letter knowledge activity or phonological activity that we will be working on. I just have to pull and grab a tray to set up a highly engaging literacy activity. See what I mean you can set up your activity in a snap. I know you are all wondering what about all of the letter manipulatives right. Well I have you covered on that end too. I like to keep all of my letter manipulatives in 8 oz clear food containers, but here is the trick. I separate my letter manipulatives based on my curriculum. What I mean by that is that I place four letters in one container based on how we introduce them, so by units. So each box only has four different letter manipulatives in each. Uppercase and lowercase letters are in different boxes as well. I do like to keep a few boxes of the whole alphabet so that I can differentiate activities as needed. All supplemental materials that I use to enhance activities are kept in plastic photo boxes so that everything can be close at hand to mix things up when needed. Here is a list of items that I like to keep with all of my literacy center materials
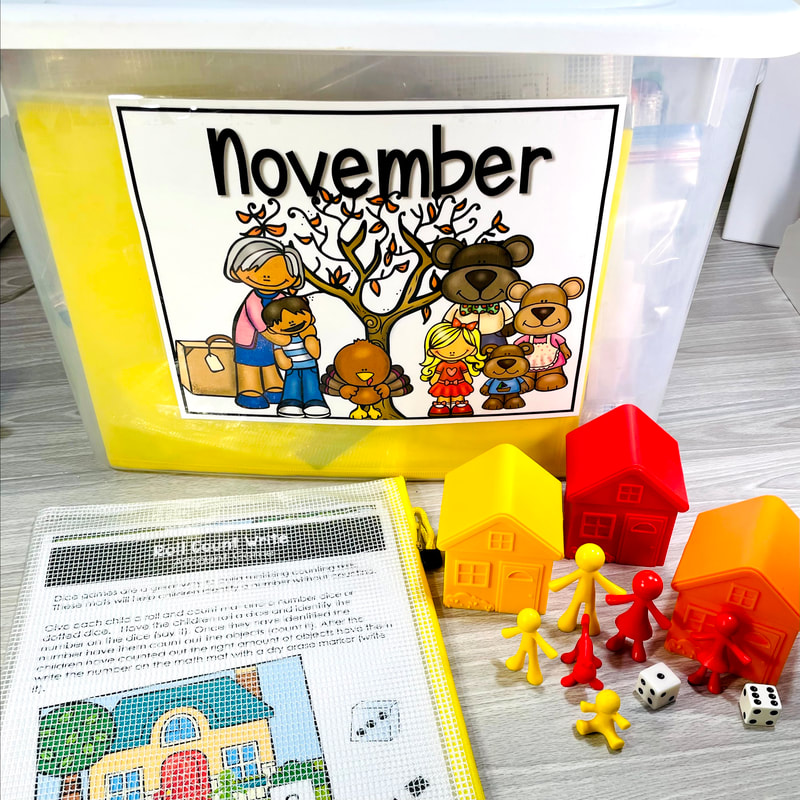
How do you store Center activities? My non theme activities are stored like I talked about above, but if it is seasonal or geared toward a certain theme then I keep all of those monthly items in one storage tote with each individual center activity in mesh zipper pouch document bags. This allows for quick simple planning and prepping of weekly activities. Example of Monthly Themes November
Related Post |
Welcome!I'm Tami Sanders creator of Learning and Teaching with Preschoolers, a blog to help teachers create magical moments for the young. Follow MeArchives
May 2024
|

