|
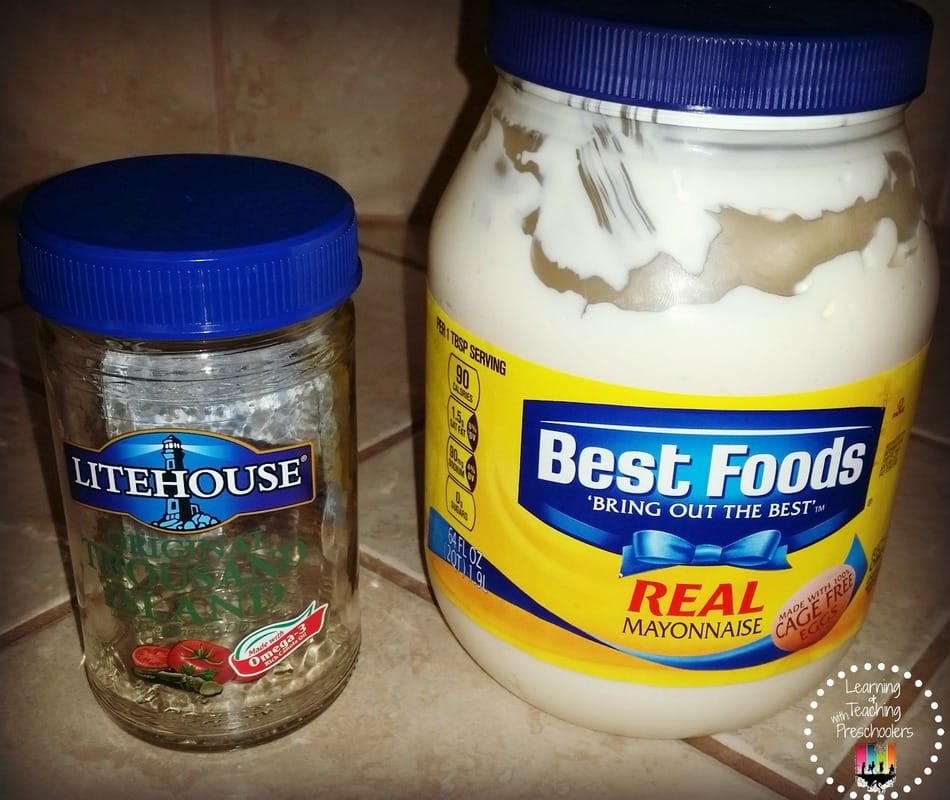
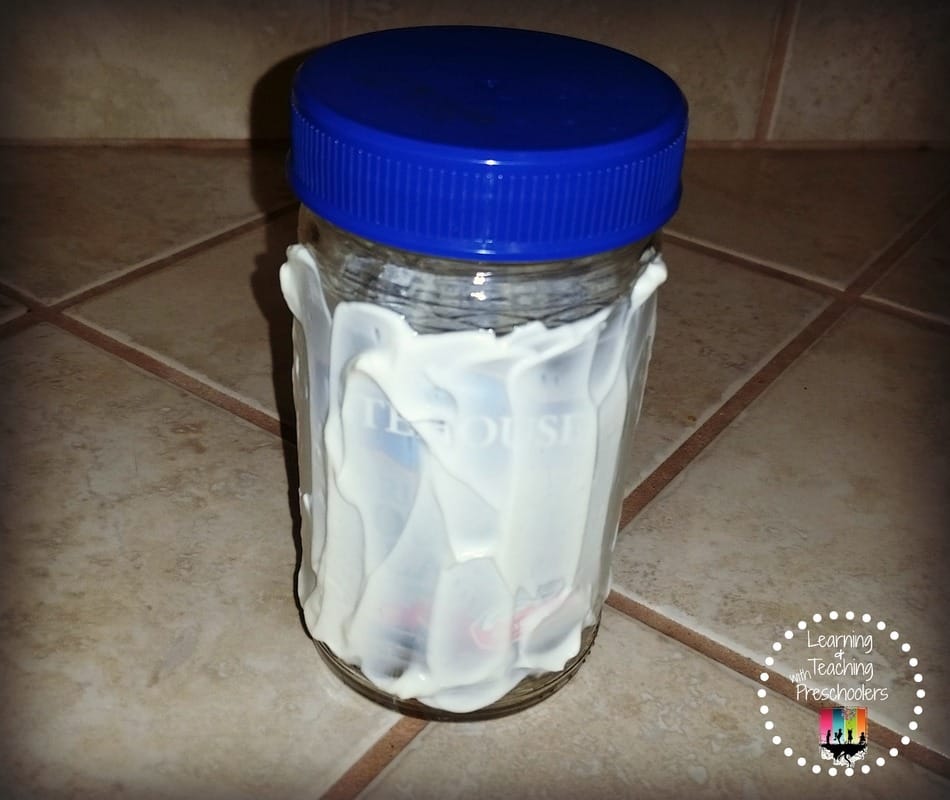
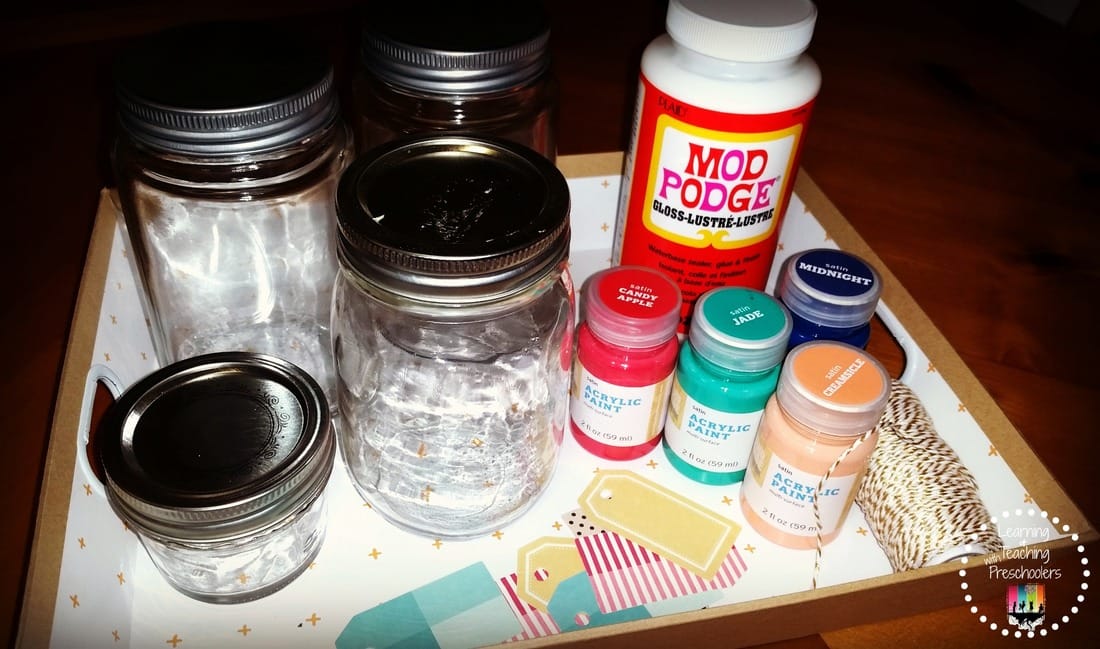
Jars are an inexpensive way to store items and we all have them lying around. Ok maybe not lying around but we do have them in the recycle bin. Today I’m going to show you how to turn that trash into something beautiful to store items in. Step One: How to remove labels from jars with ease. My secret weapon for remove jars is… Mayonnaise Spread it on the jar and let sit overnight. Once mayonnaise has sat on jar just rub label off with a paper towel and wash with soap and water. Now that you have all your labels removed, it’s time to make them beautiful. Materials that you will need:
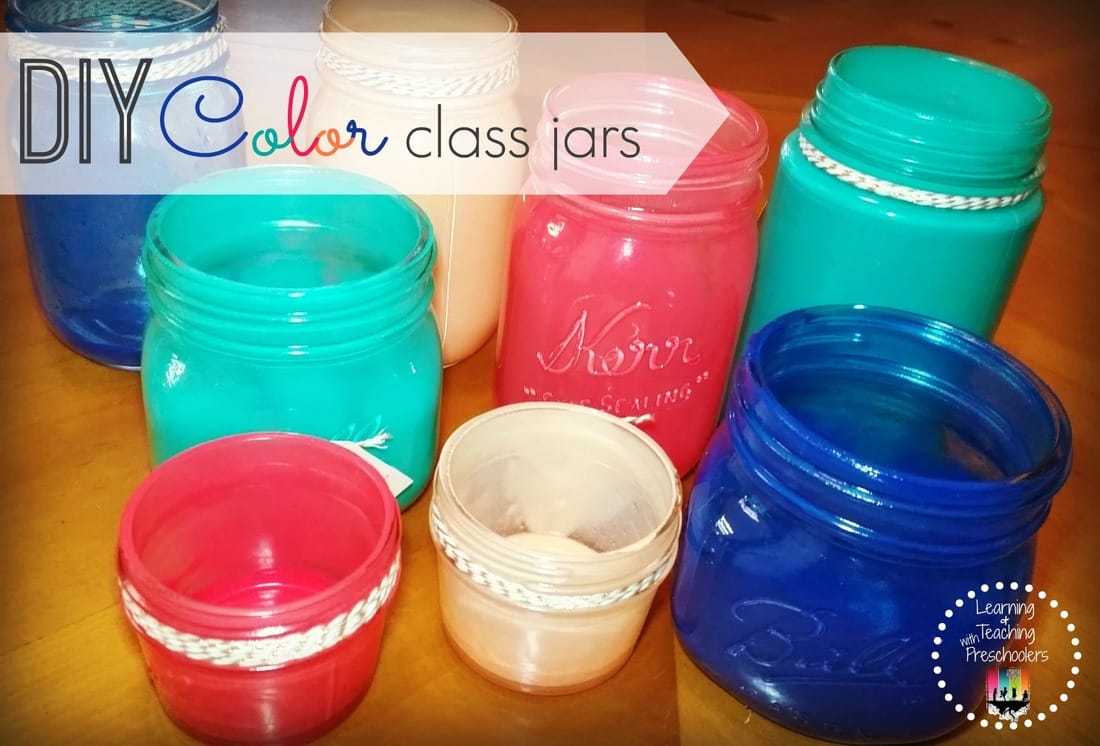
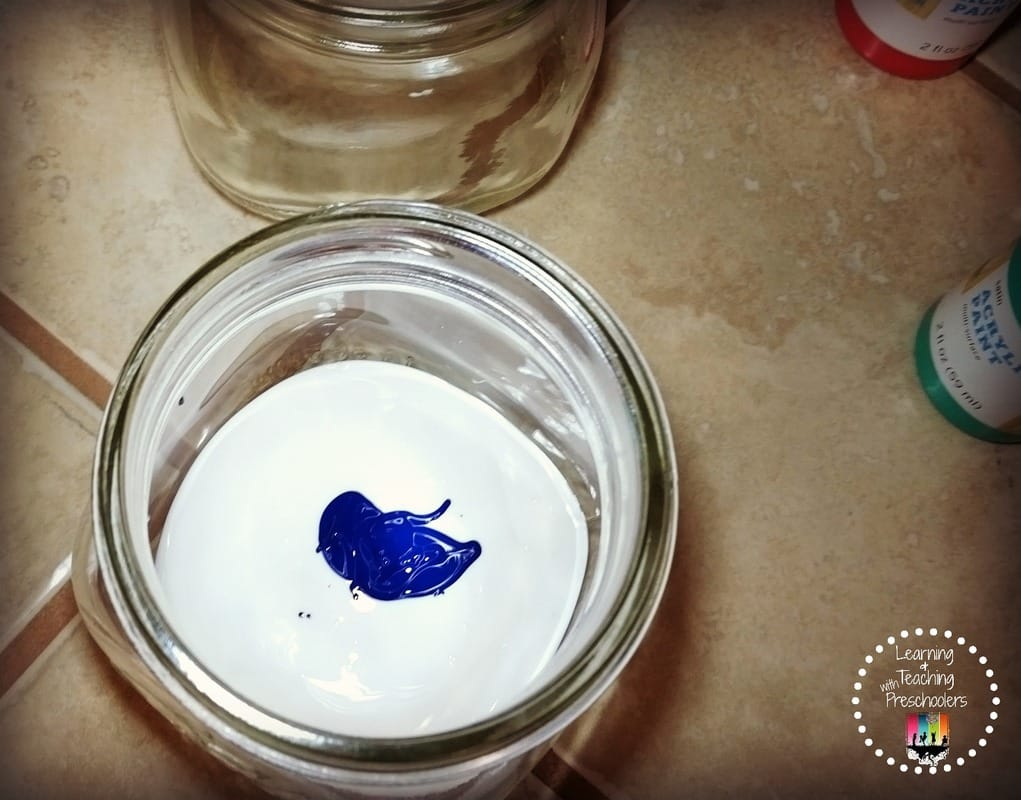
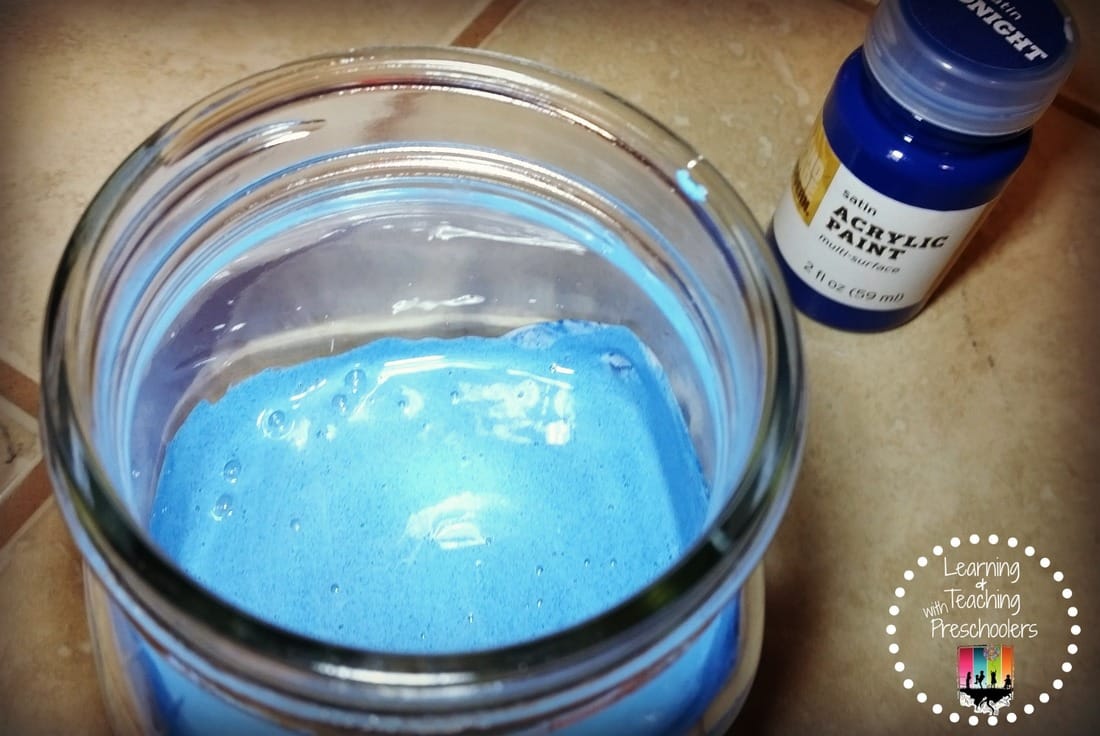
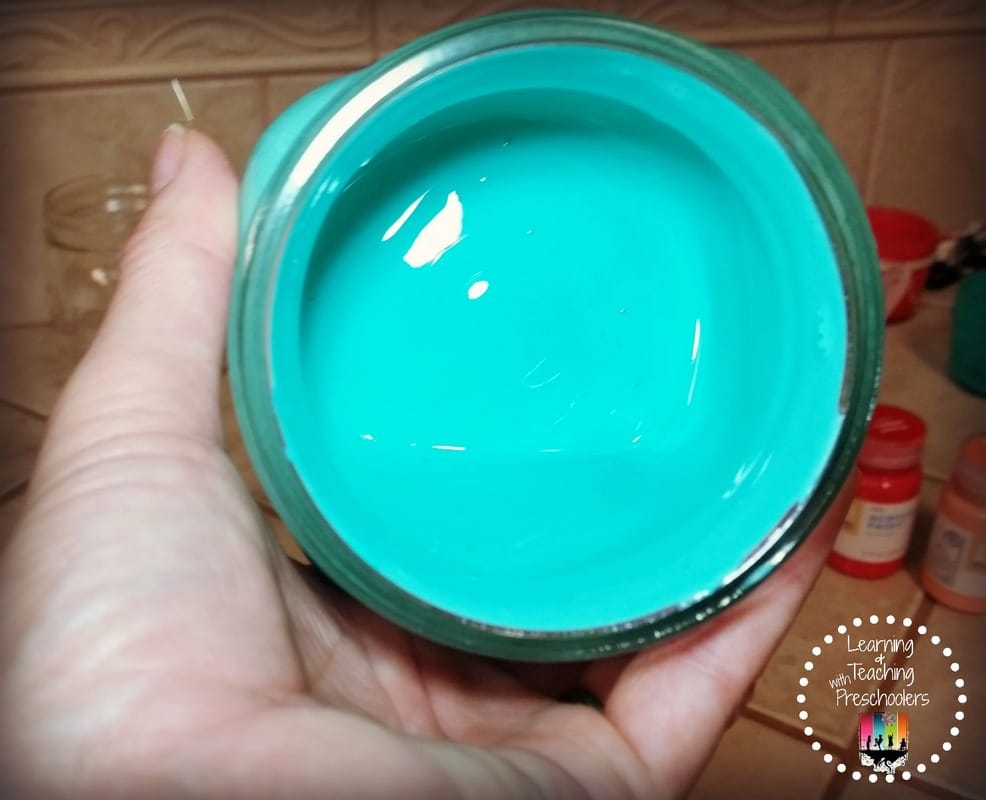
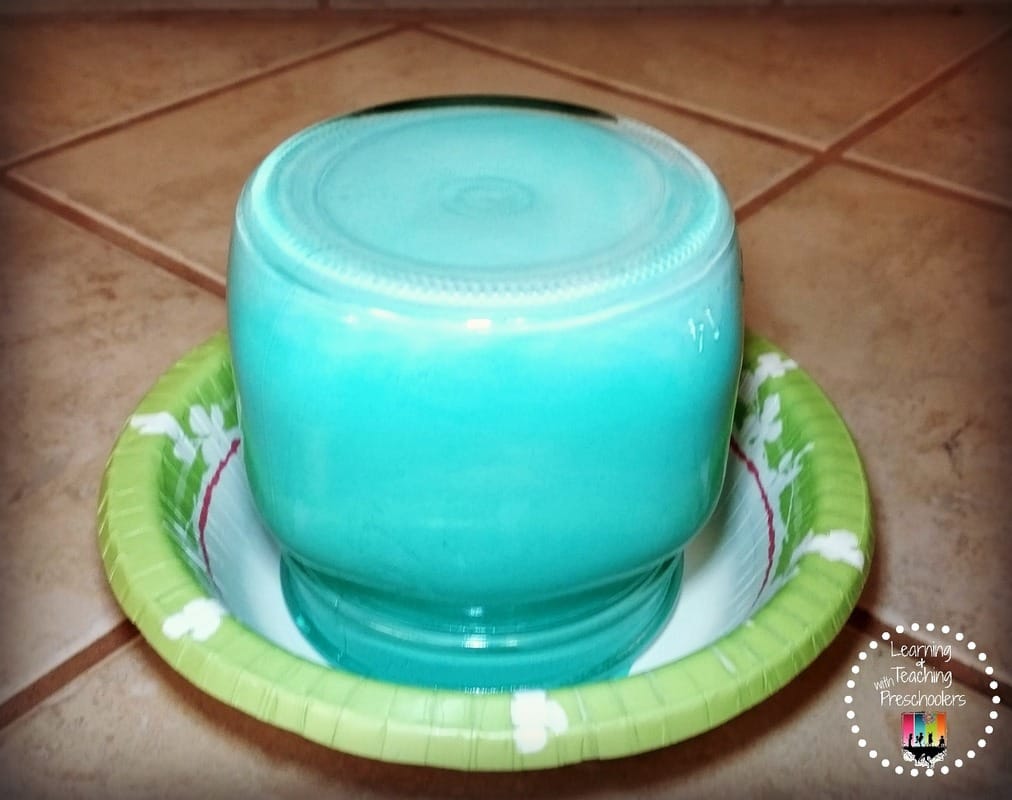
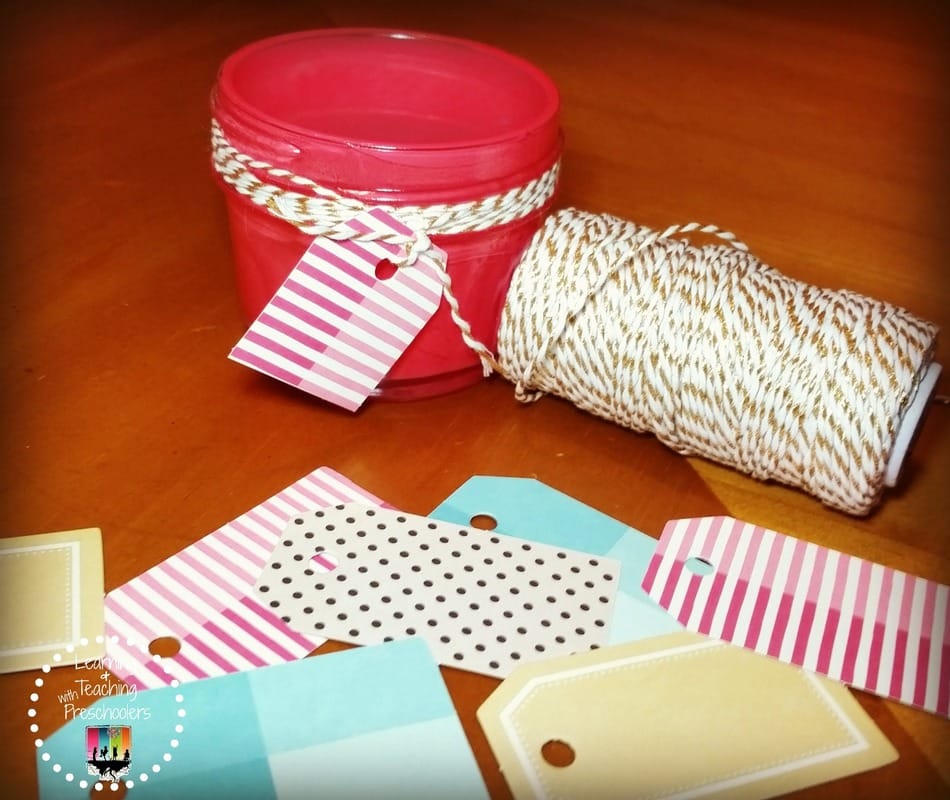
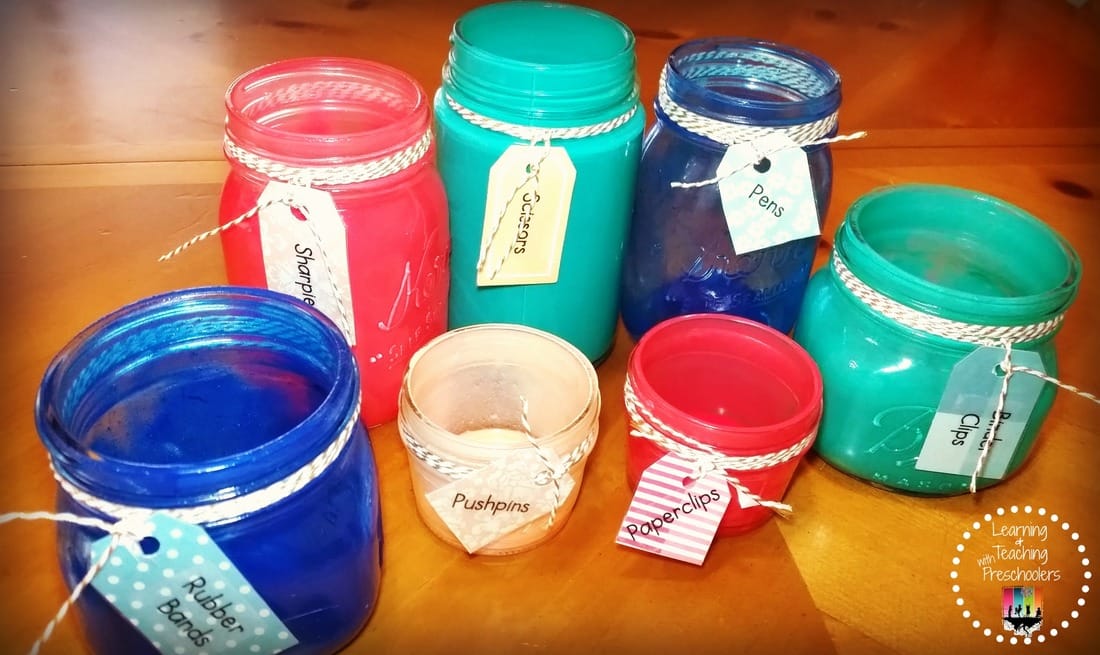
Step Two: Color Tint Jars Pour mod podge into the bottom of each jar with color stain of choice. Mix together well. You don’t want it to be marble like in appearance or your jars will look streaked. Tip jars sideways and slowly roll jar coating the sides of the jar. Slowly move the mixture until you have fully coated the inside of the jar to the rim. Drain any extra mixture into another jar if you are coloring more than one jar, or drain the extra into something that can be thrown away. Tip the jar upside down in a paper bowl and let it drain completely for about an hour or two. After you have let them drain tip them up right and air dry. This will take about 24 hour depending on the weather. Now that the jars are dry, decorate the edge with some shimmery twine and colorful tags for labels. Stay tuned to see how I will be using these beauties to organize my teachers desk.
Thursday January 12th, I will be teaming up with two other Pre-K teacher bloggers to bring you a classroom organization challenge that you won’t want to miss. We will be decluttering key areas of our classroom to help us save time and relive some of that unneeded stress that goes with running a classroom.
0 Comments
Leave a Reply. |
Welcome!I'm Tami Sanders creator of Learning and Teaching with Preschoolers, a blog to help teachers create magical moments for the young. Follow MeArchives
May 2024
|

