Learning & Teaching with Preschoolers
  • Home
  • Blog
    • Sign Up
  • Become a Member
  • Store
    • TpT Store
  • Videos

Learning and Teaching with Preschoolers

Where the magic begins

Children's Art Gallery

9/12/2013

4 Comments

 
Picture
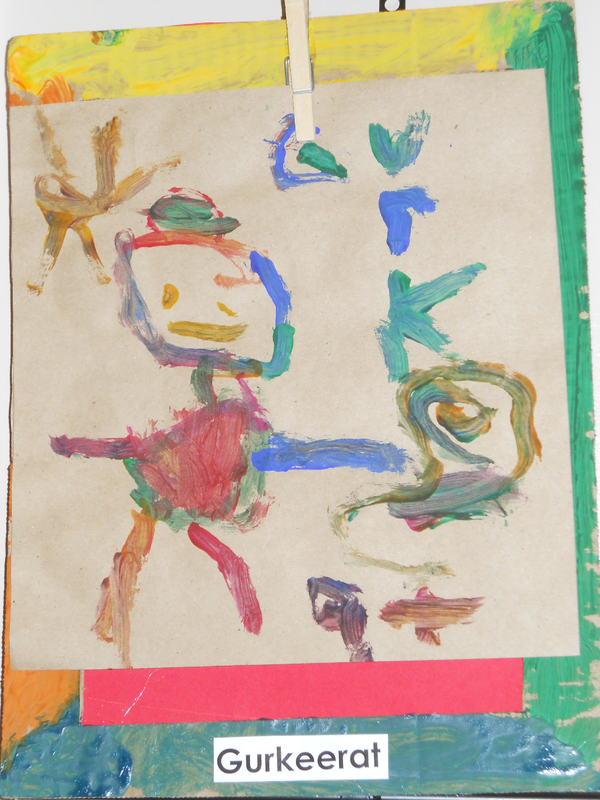
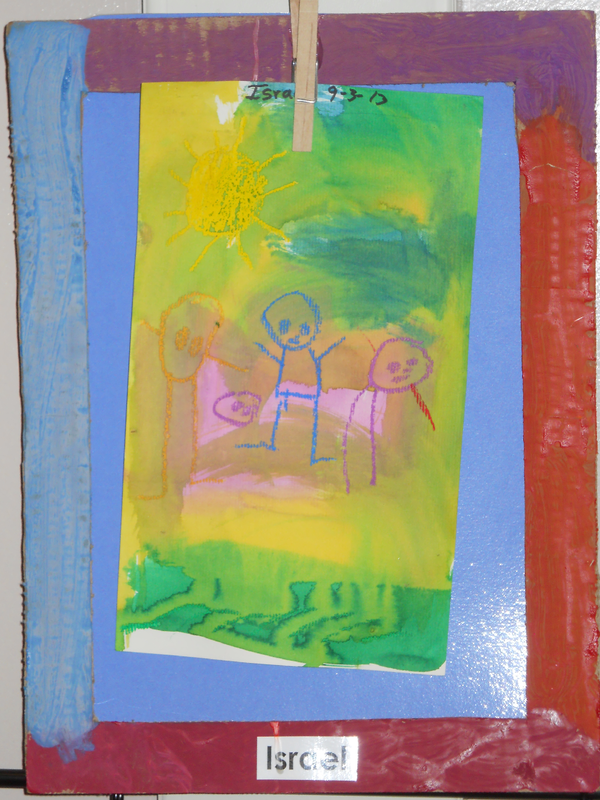
Creating spaces with children in mind.   This year we have reworked our art studio area to provide children with ways to be independent artist. 
Picture
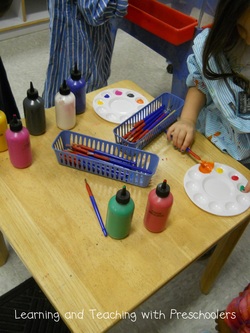
Children help themselves to the paint and place it on paint pallets for color mixing opportunities. 


Picture
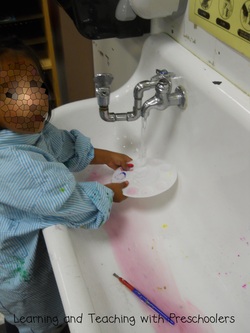
Once done they clean up after themselves.  No more teachers can I paint.  They now know how to get their own paint, paper for their art and best of all they clean up the mess.


Picture
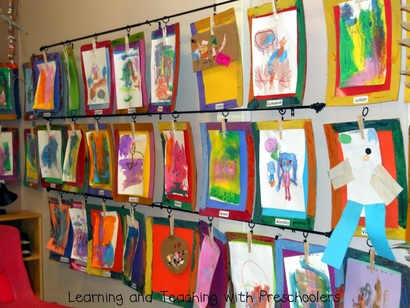
Each child also has a frame that they created themselves for their own art.  Children get to choose the art they would like to display for others to see.
Picture
Picture
Picture
Picture
4 Comments
Julie
9/15/2013 01:20:39 pm

Would love to know more about your art area....... what did they make the frames out of? What are the pictures hanging from? Where did you get the squirt bottles? This is one area I really want to feel more comfortable letting the children have more freedoms.
Thank you!

Reply
Tami link
9/15/2013 10:15:50 pm

The frames are made out of card board and we cut a square out of the center of each piece. The children painted their frames with different types of paint. We laminated sheets of construction paper to be the back drop of each frame and hot glued it to the frame. Next we hot glued a clothes pin to the top of each frame so that art could easily be replaced.

The squirt bottles are from a beauty supply store. They are the ones that hair color would be mixed in. (about $1.65 each). These bottle are easy for them to squeeze and get the paint out of. We molded for them before opening the center up. Five drops of paint can go in each section, if they need more that can add more at that time.

There is always a wet rag for spills. If they spill on the floor then it is their responsibility to fix the spill.

I hope this helps. You will be glad you made this change, the children have really grown in the art center since we have done this.

Reply
Julie
10/3/2013 09:55:10 am

Tami - One more questions. Can you explain what the rod is that is holding the pictures on the wall? I have everything done except this final step. Thank you so much for sharing. : )

Reply
Tami link
10/3/2013 10:47:36 am

I used a curtain rod from Lowes. It was one of the metal ones and I added the curtain clip on rings. Each curtain ring has a frame clipped to it. Cheep and easy.


Leave a Reply.

    Picture
    Picture
    Picture

    Welcome!

    I'm Tami Sanders creator of Learning and Teaching with Preschoolers, a blog to help teachers create magical moments for the young.

    Follow Me

    Picture
    Picture
    Picture
    Picture
    Picture
    Picture
    Picture
    Groovy Cat Loving Math
    Picture

    RSS Feed

    PicturePicture Book By: Tami Sanders
    ​

    e-Book

    Monthly Bundle Deals

    Categories

    All
    All About Me
    Apples
    Art
    Assessments
    Block Play
    Books
    Classroom Community
    Classroom Environment
    Classroom Mangagement
    Communication Folder
    E-workshops
    Eworkshops7dd75ef448
    Fall
    Family Engagement
    Fine Motor
    Freebie
    Freebie Friday
    Friends
    Language And Literacy
    Lesson Plan Cd
    Math
    Organization
    Outside Play
    Parent Involvement
    Peer Into My Week
    Planning
    Play Dough
    Sensory Table
    Smart Board
    Spring
    Turkeys
    Video Lesson
    Weekly Lesson Plans
    Writing

    RSS Feed

Connect with Me

Picture
Picture
Picture
Picture
Picture
Picture
Meet Tami
Proudly powered by Weebly
  • Home
  • Blog
    • Sign Up
  • Become a Member
  • Store
    • TpT Store
  • Videos